Tracking Individuals' Deficiencies
Use FINRA Gateway Reports to retrieve individuals at your firms by deficiency type.
We will explain:
- How to use Columns to customize your view of the Active Individuals Roster
- How to Group individuals at your firm by deficiency
- How create a list of individuals by a particular type of deficiency
- How to save as a Custom Report
Open and Navigate the Active Individuals Roster
Log in to FINRA Gateway and navigate to Reports by clicking the reports icon in the left margin.
Once in the Reports section, click on Templates and open the Active Individuals Roster.
![]()
When you open the Active Individuals Roster, click on the Columns tool in the upper right.
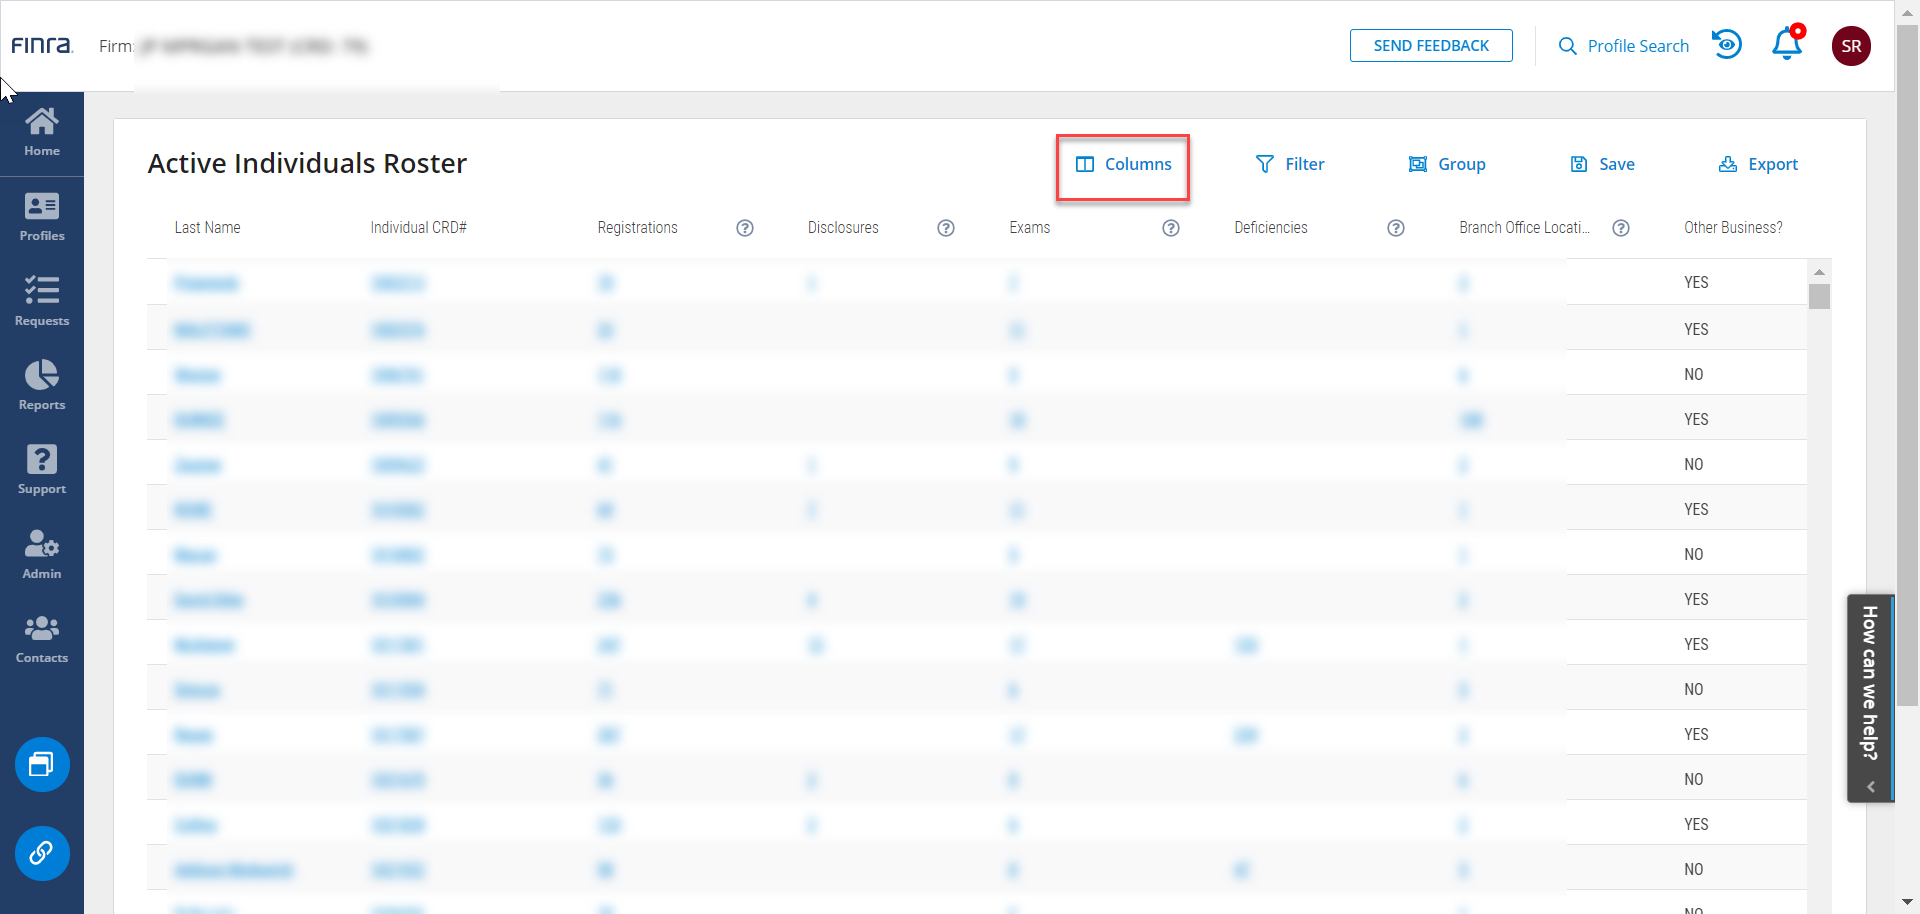
Within the Columns tool, the section on the right shows the columns that are selected to appear by default in the Active Individuals Roster. On the left are all available columns.
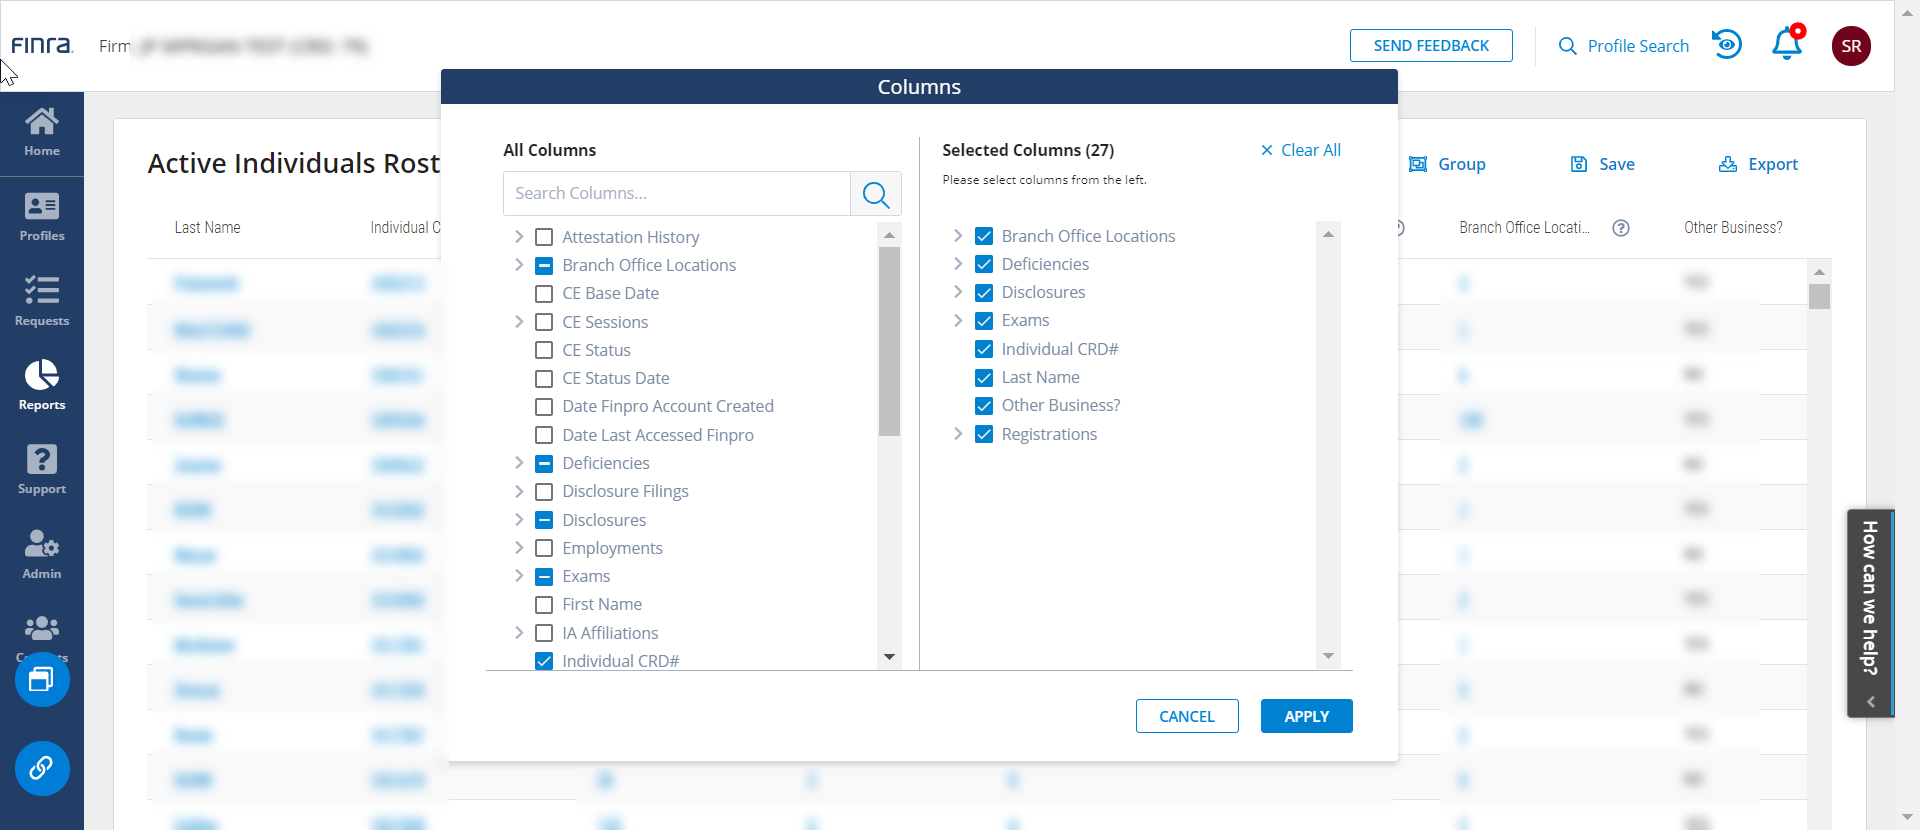
Use the right side to uncheck and deselect any columns you don’t need. For this use case, remove Other Business? and Branch Office Location columns. You can always add columns back to your report if you find you need them.
Now, from the left side, expand the Deficiencies section to add more columns.

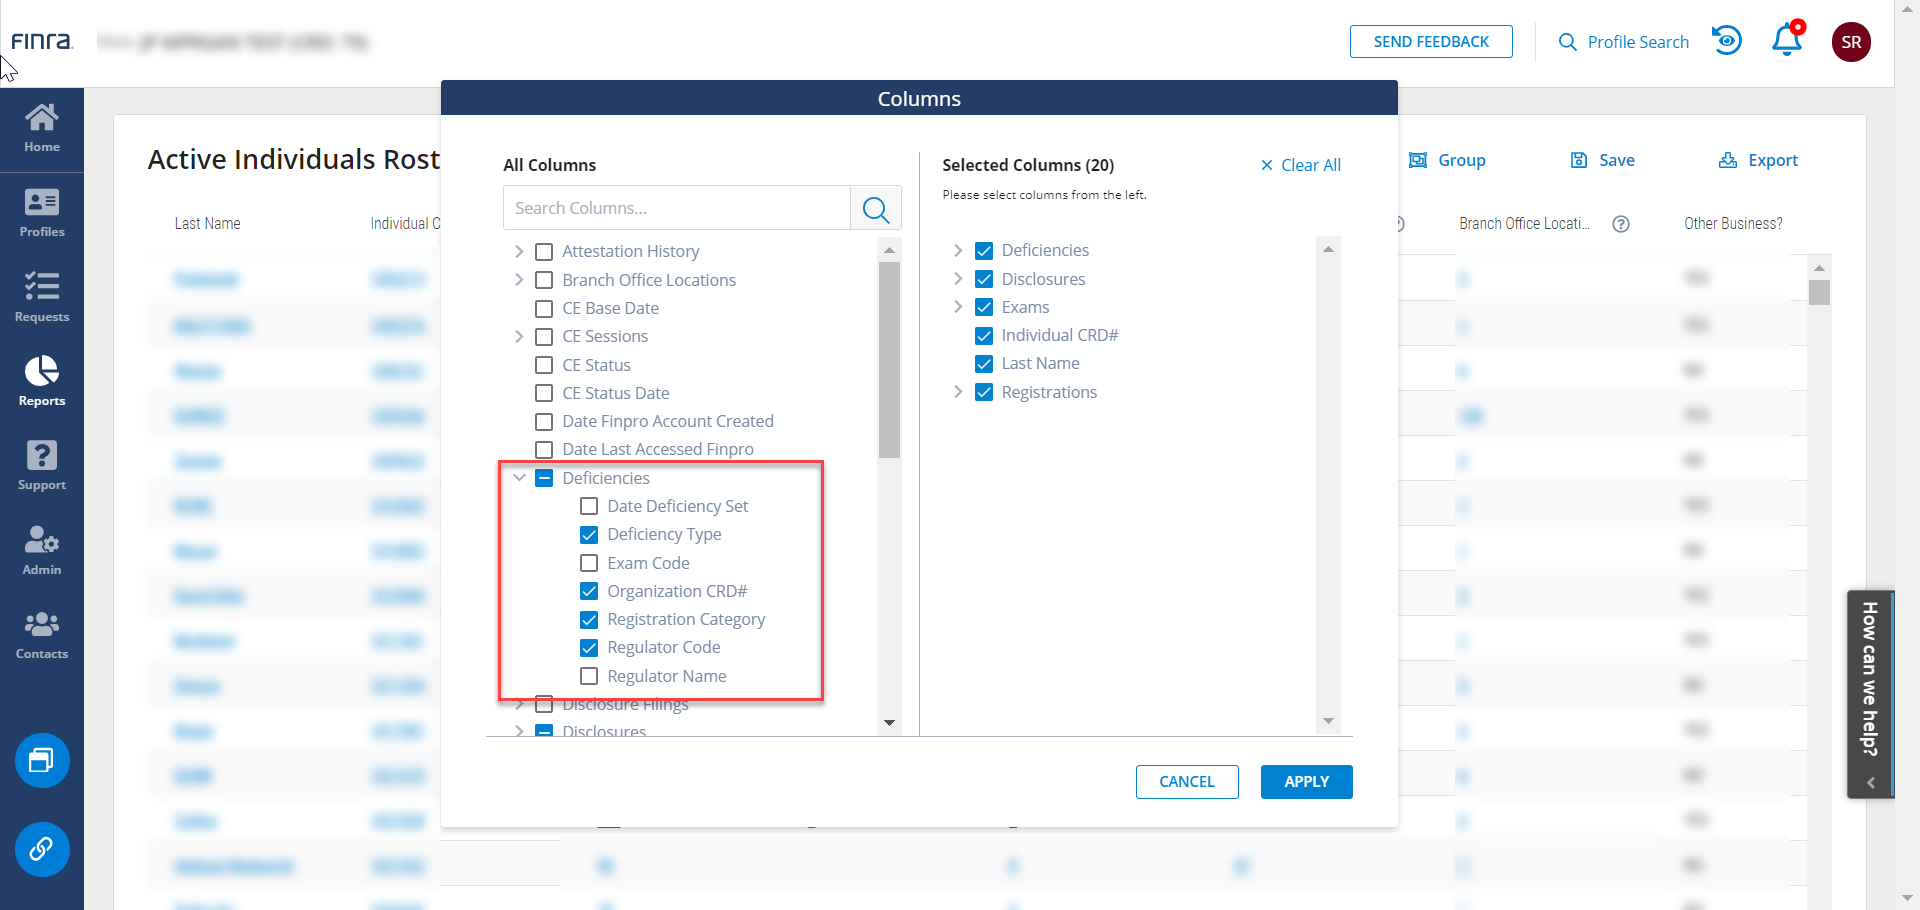
Add the Date Deficiency Set, Exam Code, and Regulator Name to the Deficiency sub-table by checking those columns. After those selections are made, click Apply.
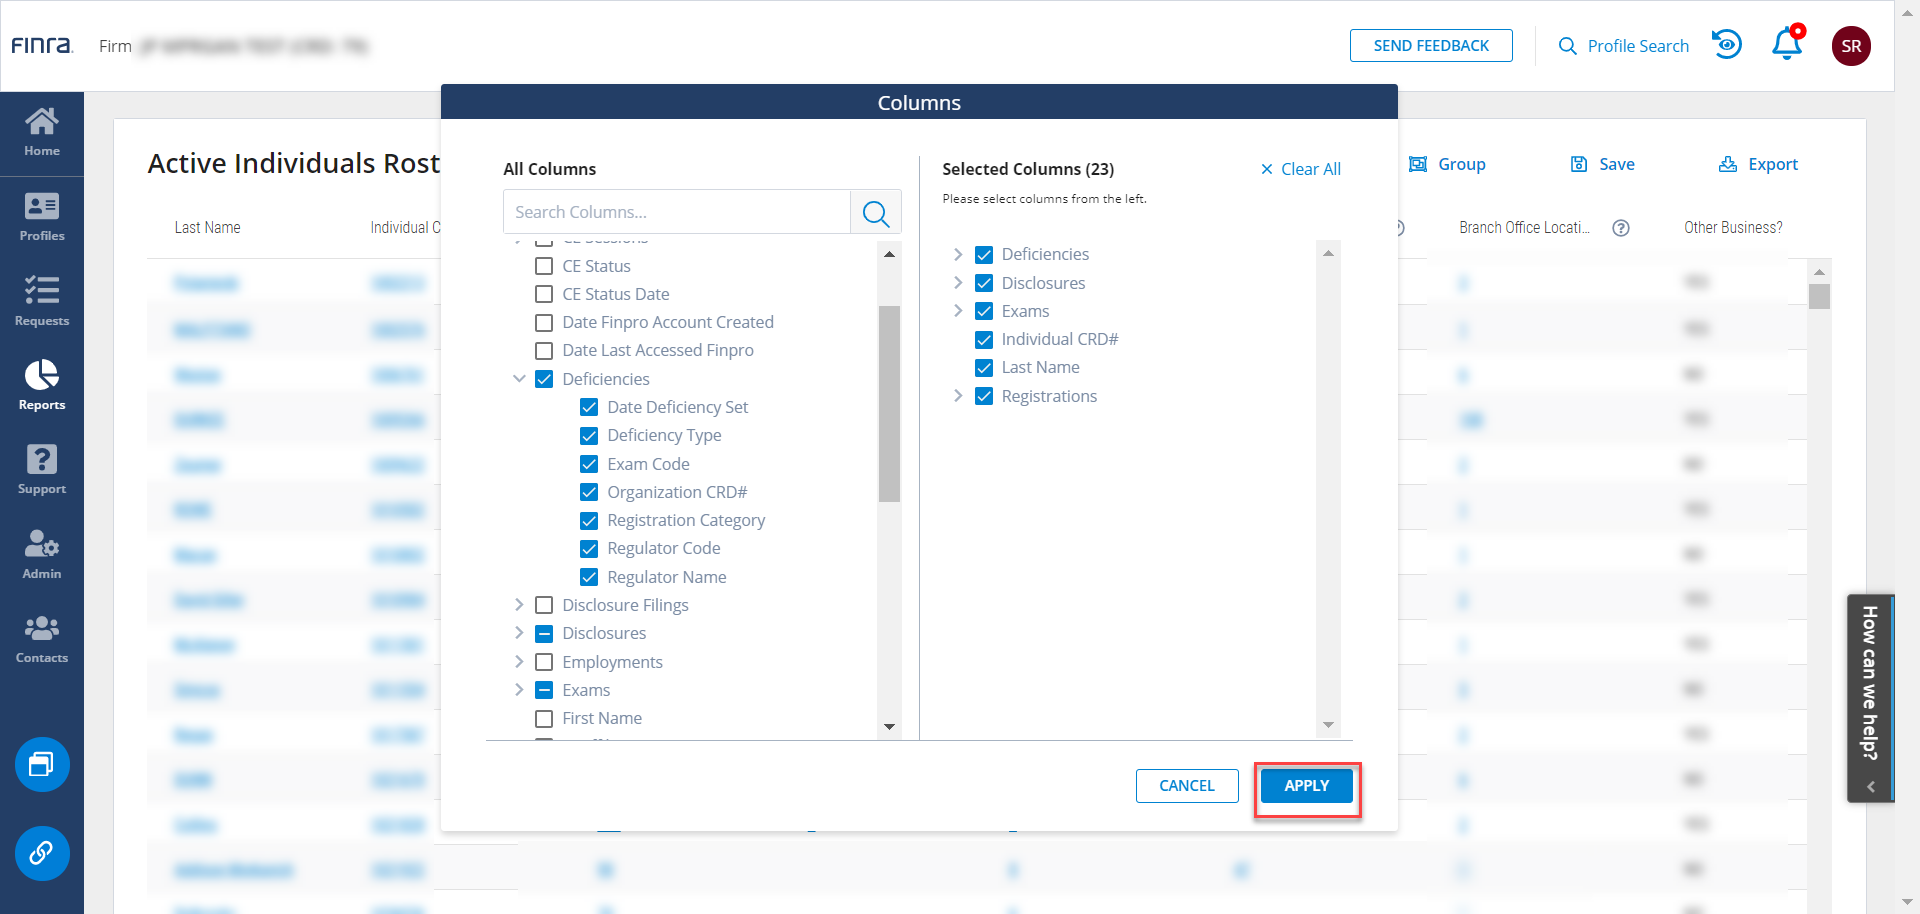
After applying the Column changes, the Active Individual Roster will reflect the new column selections.
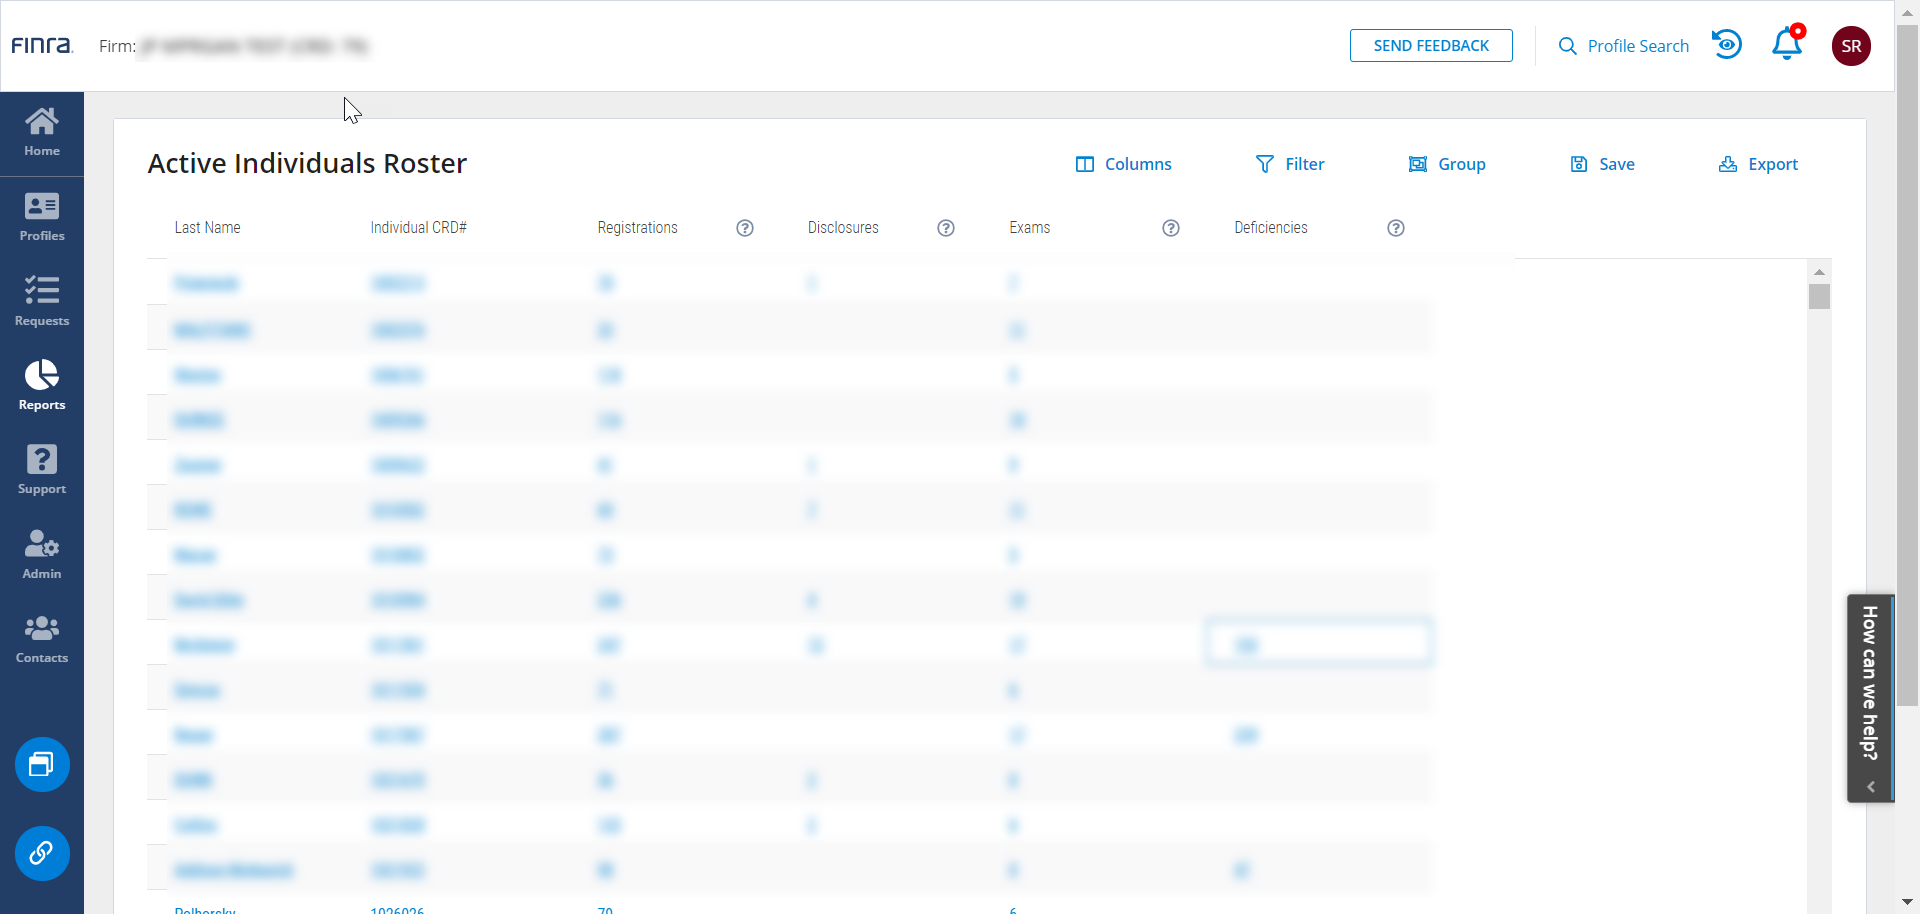
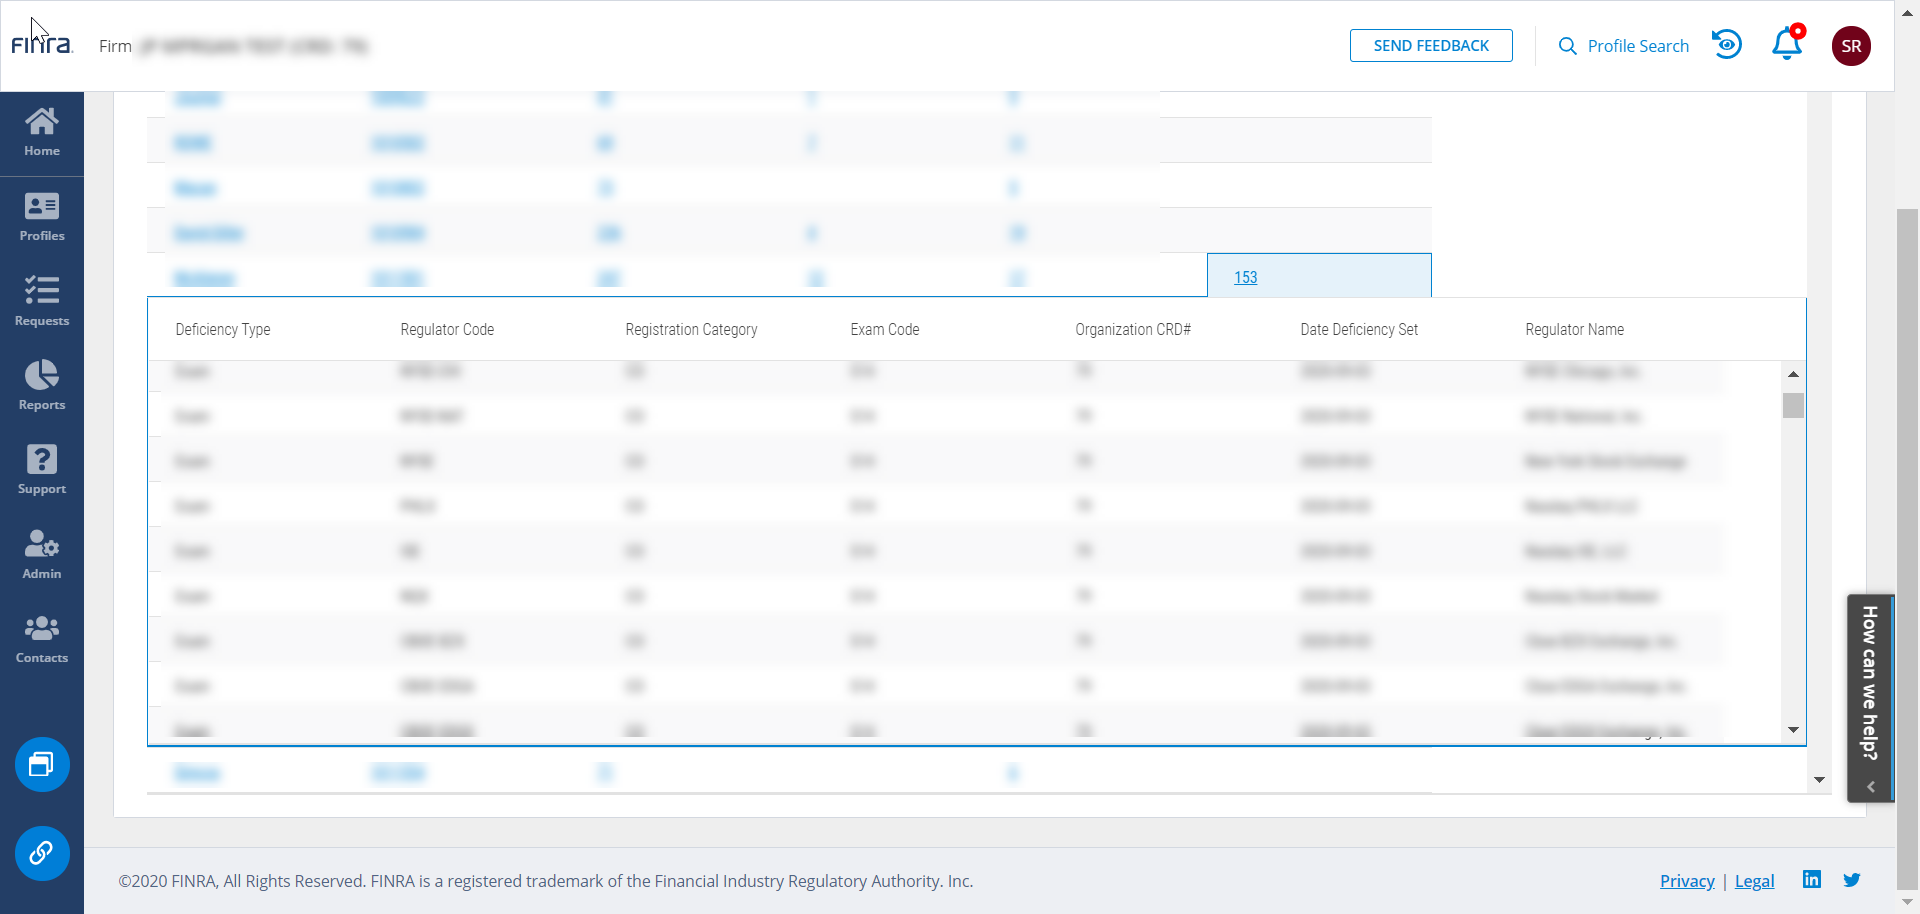
Click on the count within the Deficiencies column to see the additional deficiency details.
Individuals by Deficiency Type
There are two ways to focus on individuals by deficiency type.
The first way is using the Group tool. Use Group to categorize every individual at your firm by deficiency type. Individuals may appear multiple times if they have more than one deficiency type.
The second way is using the Filter tool. Use the Filter tool to create a list of individuals at your firm that only includes individuals with a certain type of deficiency. The Filter tool will limit the number of results in grid since only individuals with a specific deficiency type will appear.
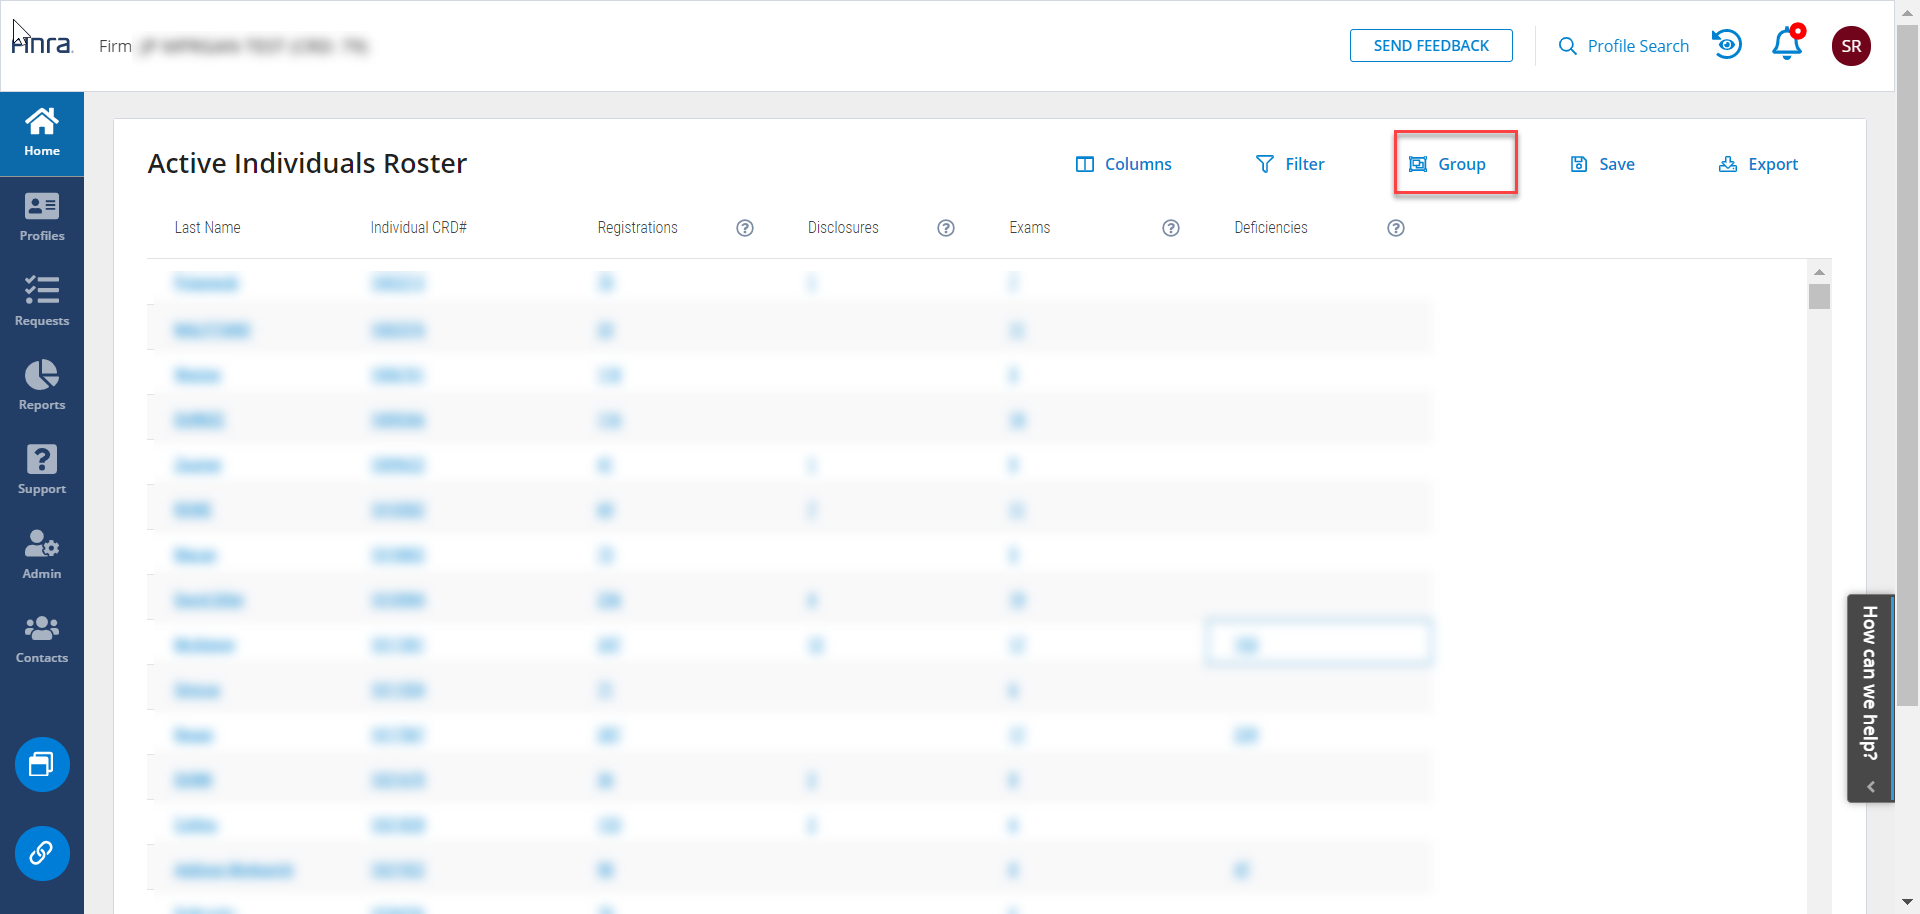
Group Individuals by Deficiency Type
With your Active Individuals Roster open, locate the Group tool in the top right of the page.
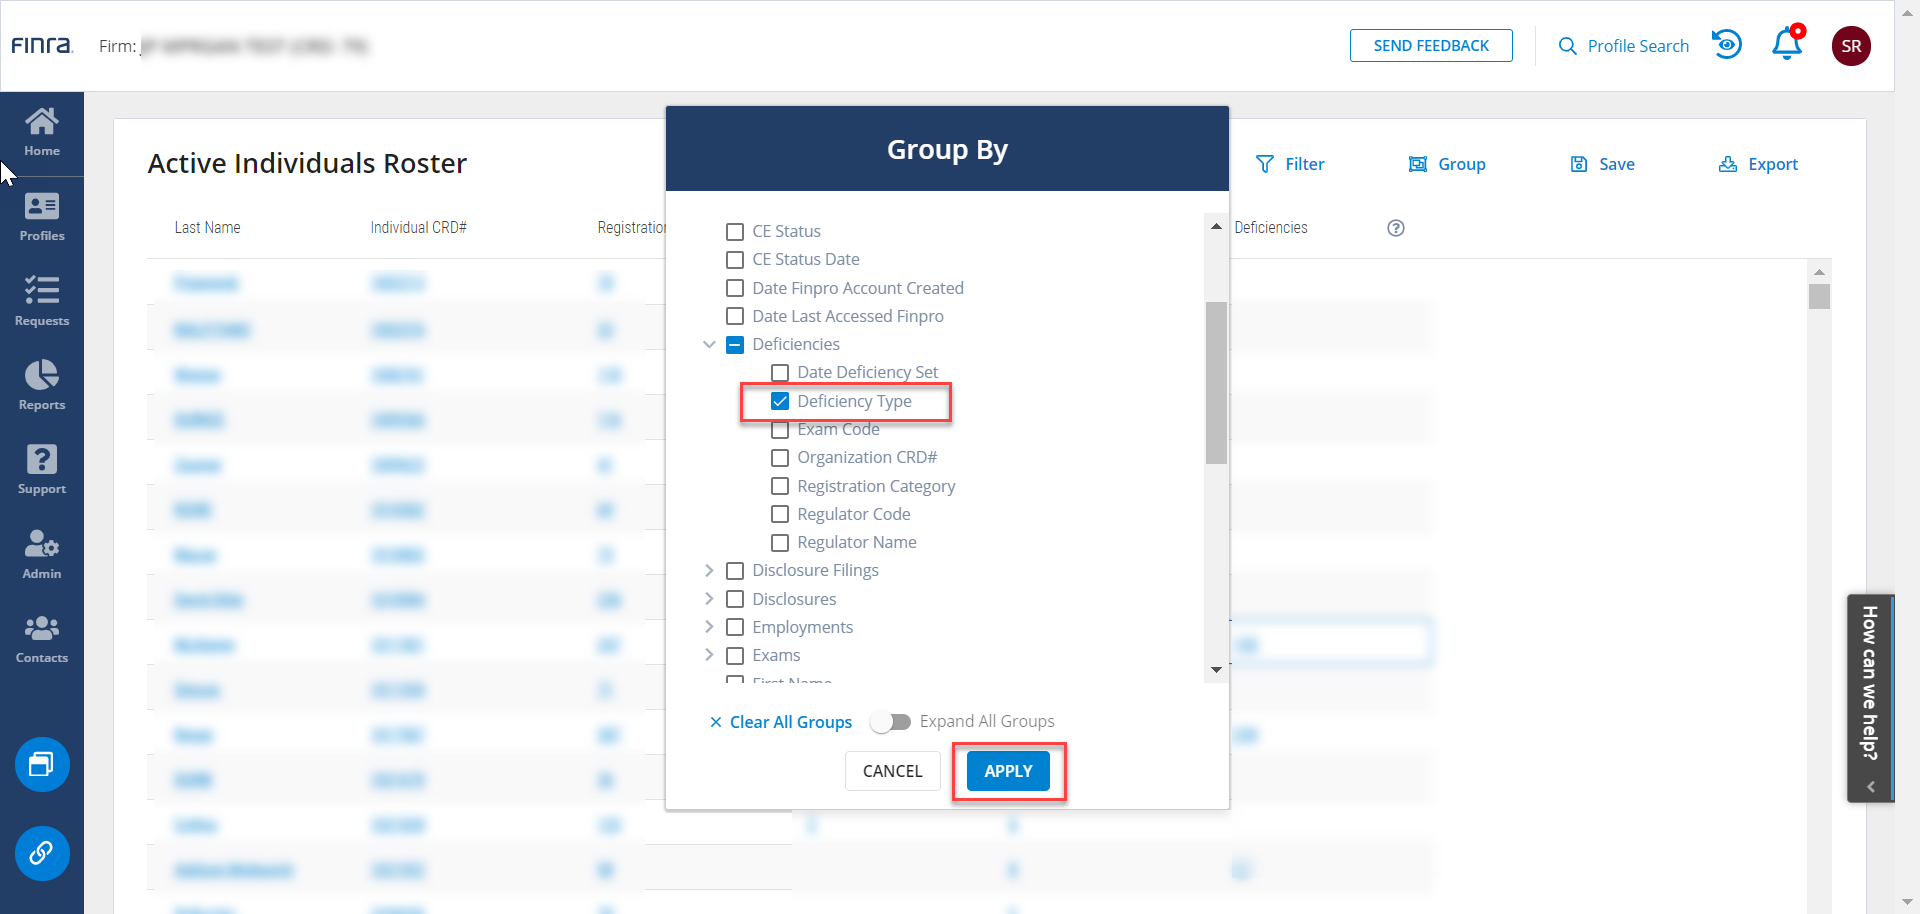
Within the Group tool, expand the Deficiencies section.
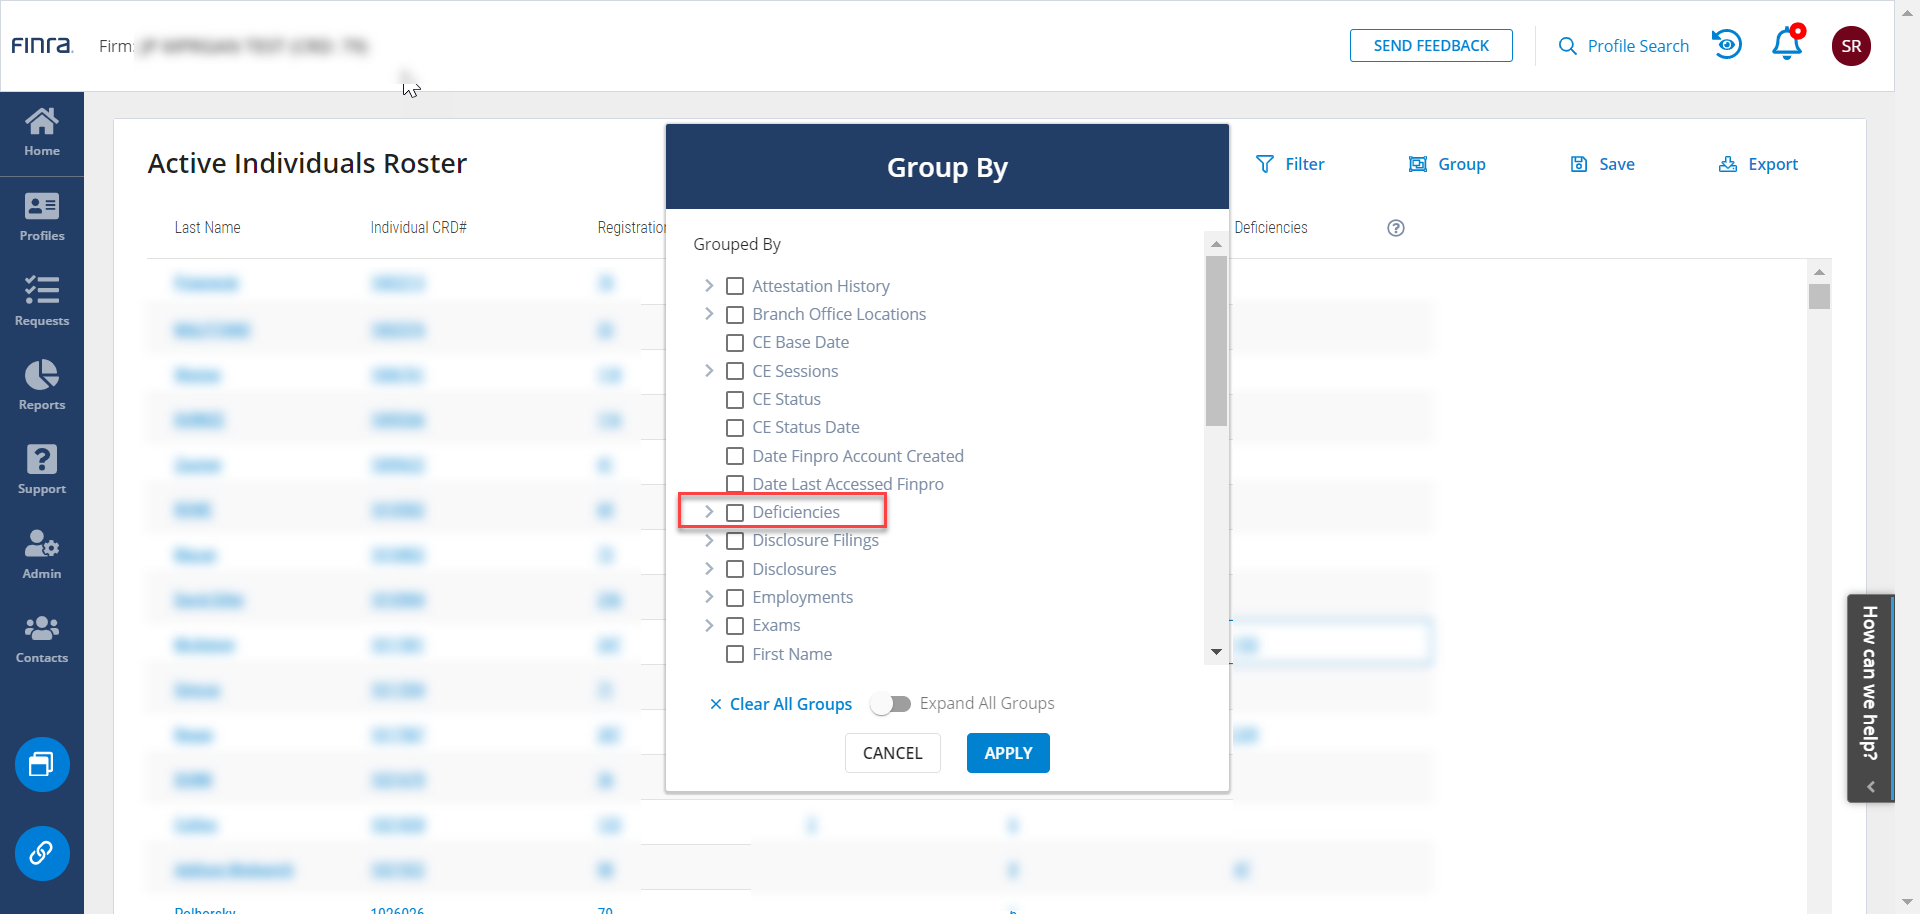
Within the Deficiencies section, select the Deficiency Type. Click Apply.
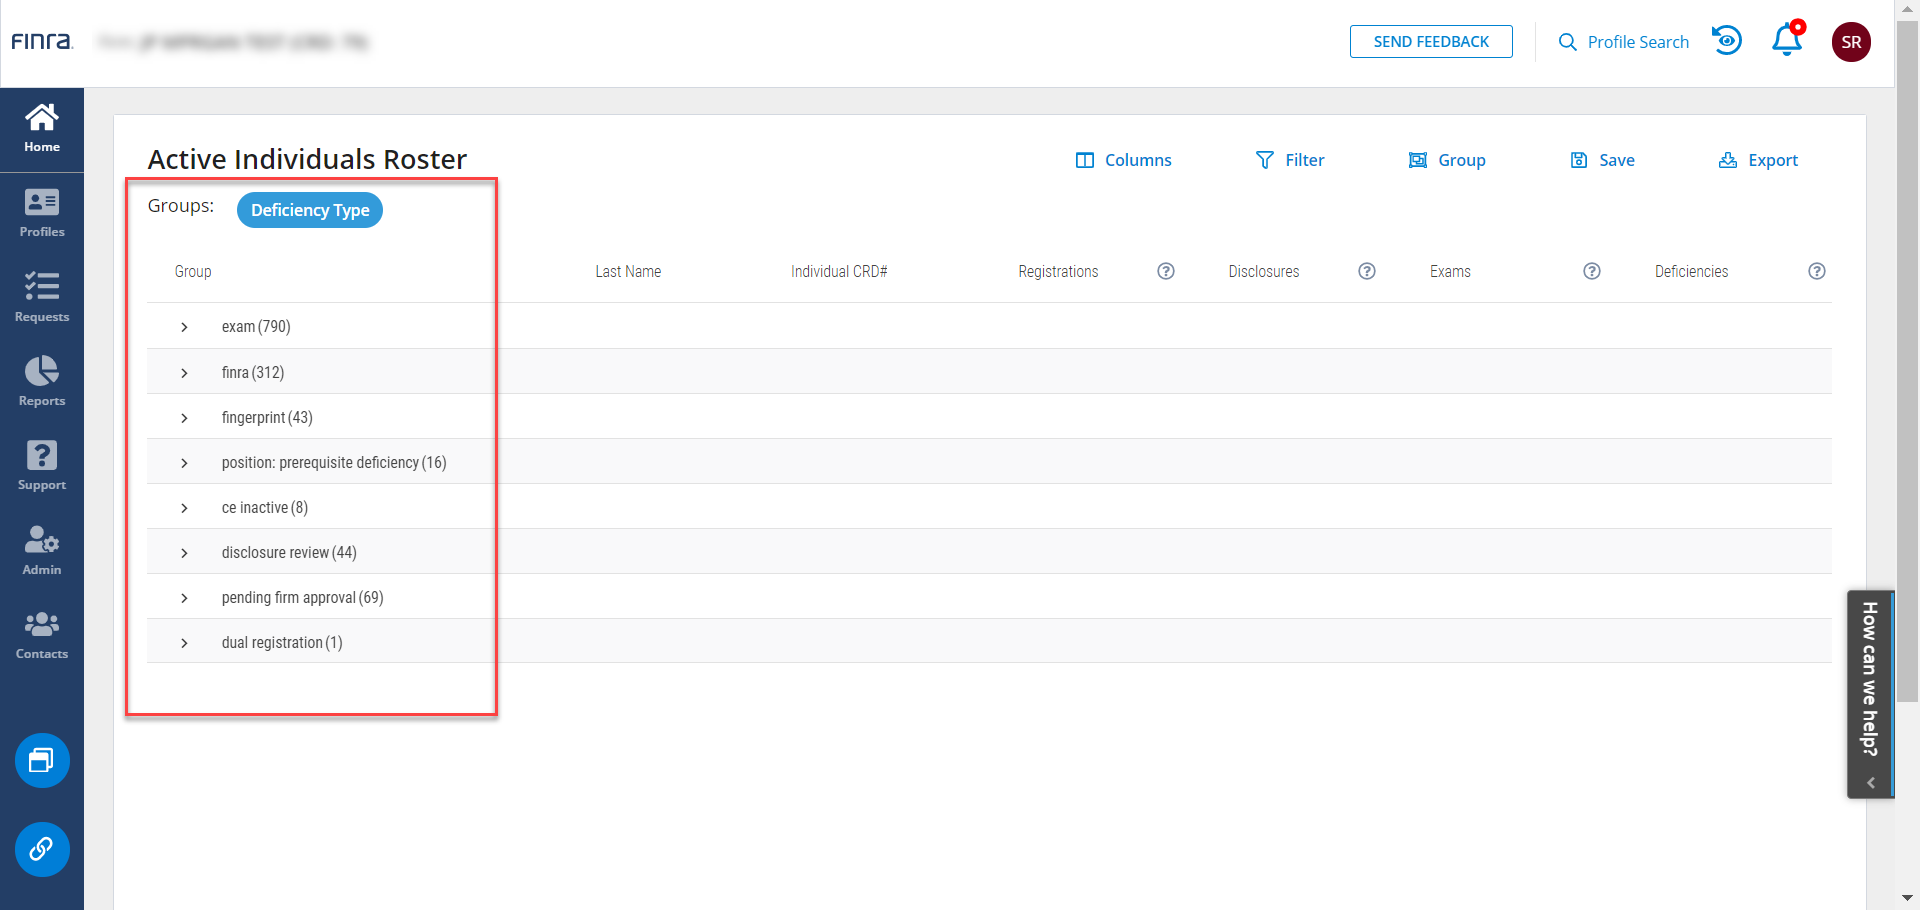
After applying the Deficiency Type Group, you will see the individuals at your firm organized by Deficiency Type.
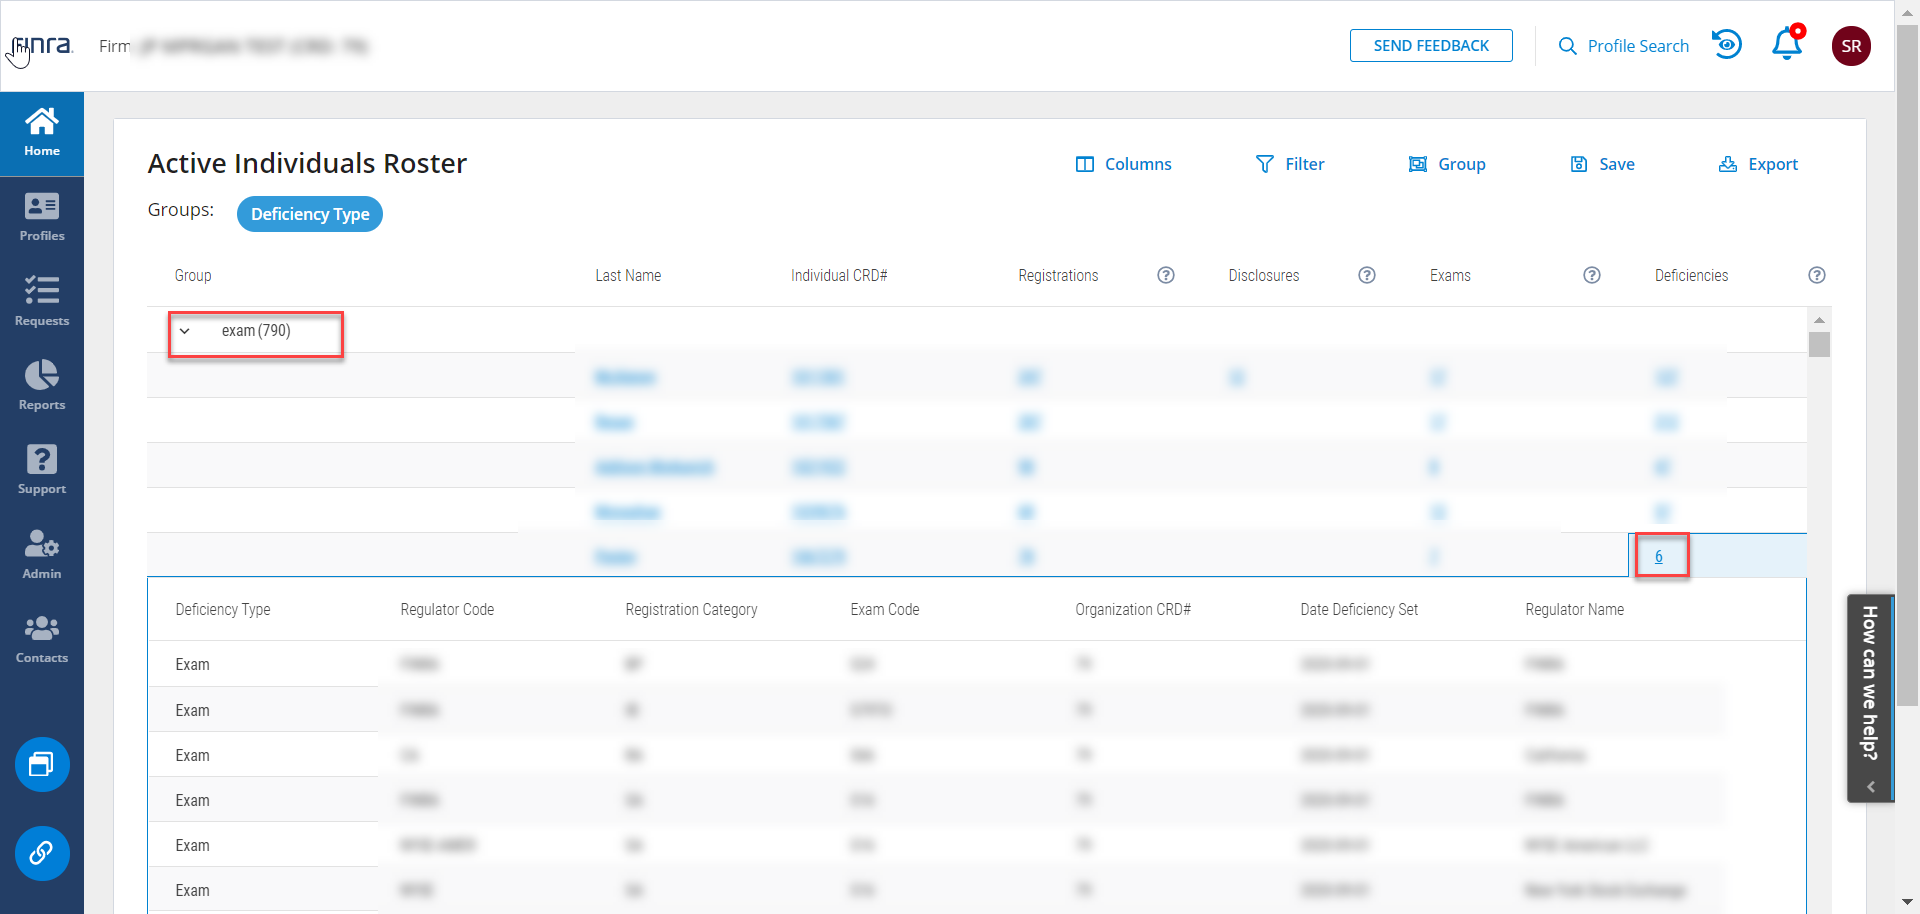
Click to expand the group to see details about the individuals with each deficiency type. Click on the Deficiencies column to see details about the individual’s deficiencies.
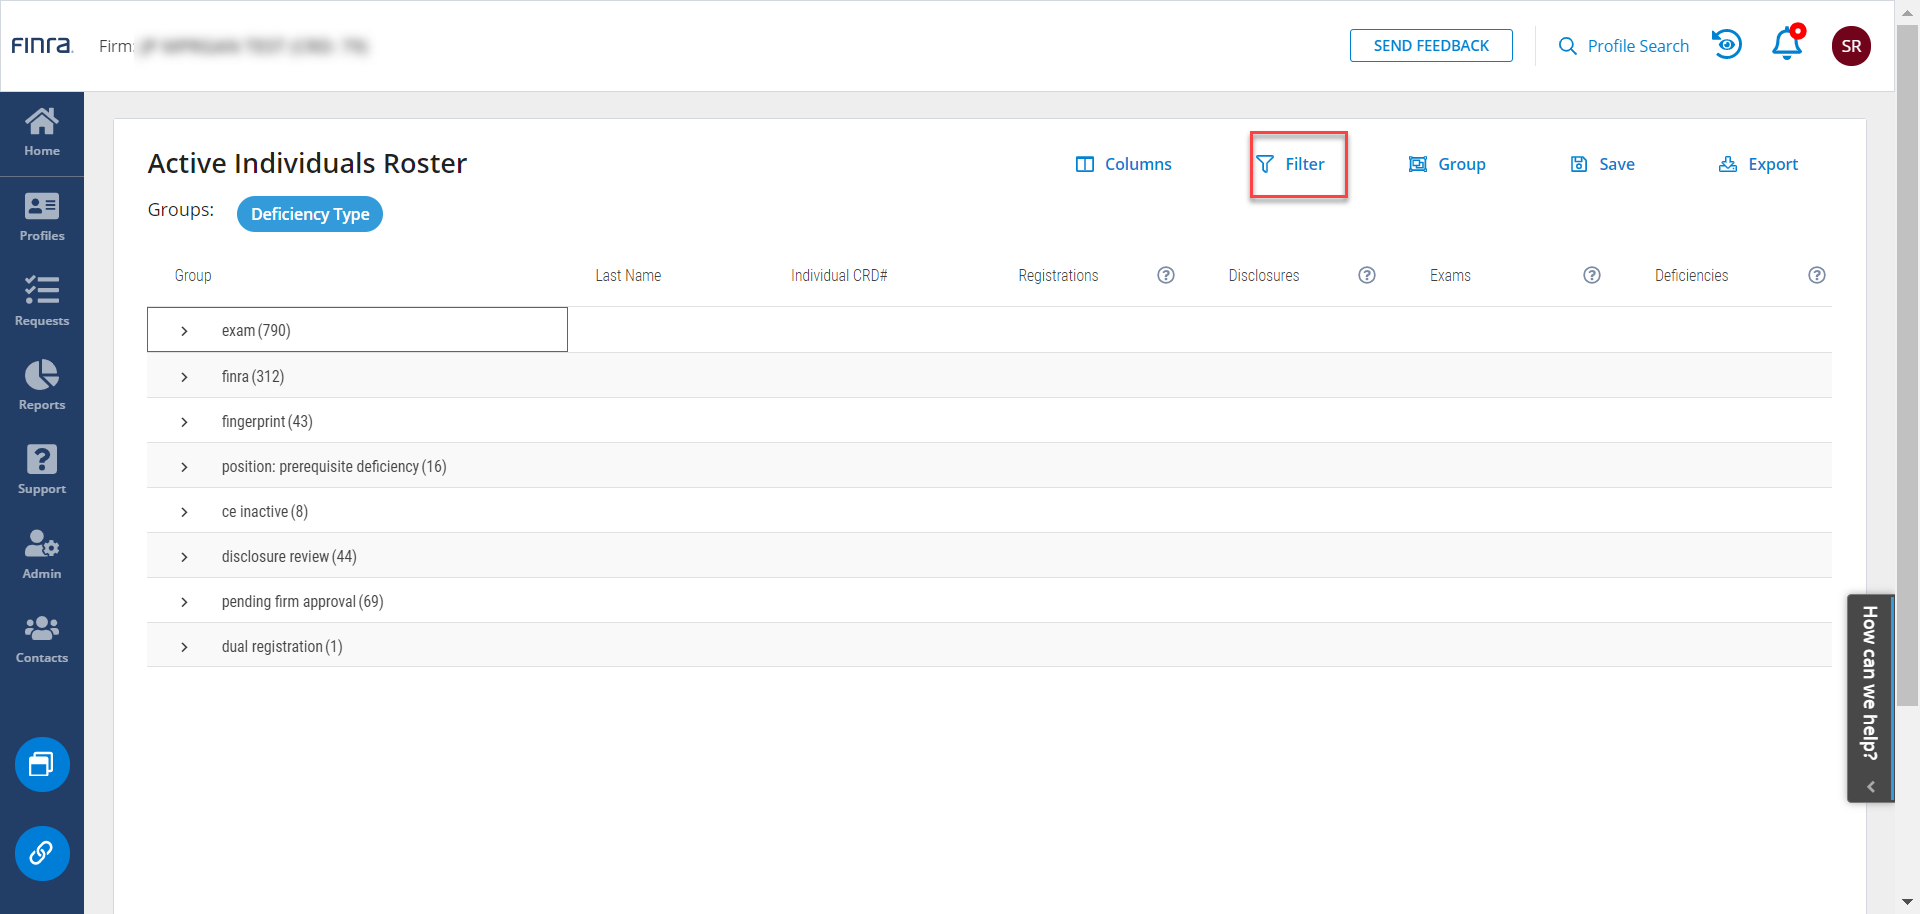
Filter Individuals by Deficiency Type
If you only want a list of individuals with an exam deficiency, you can use the Filter tool. Start by opening the Filter tool in the top right.
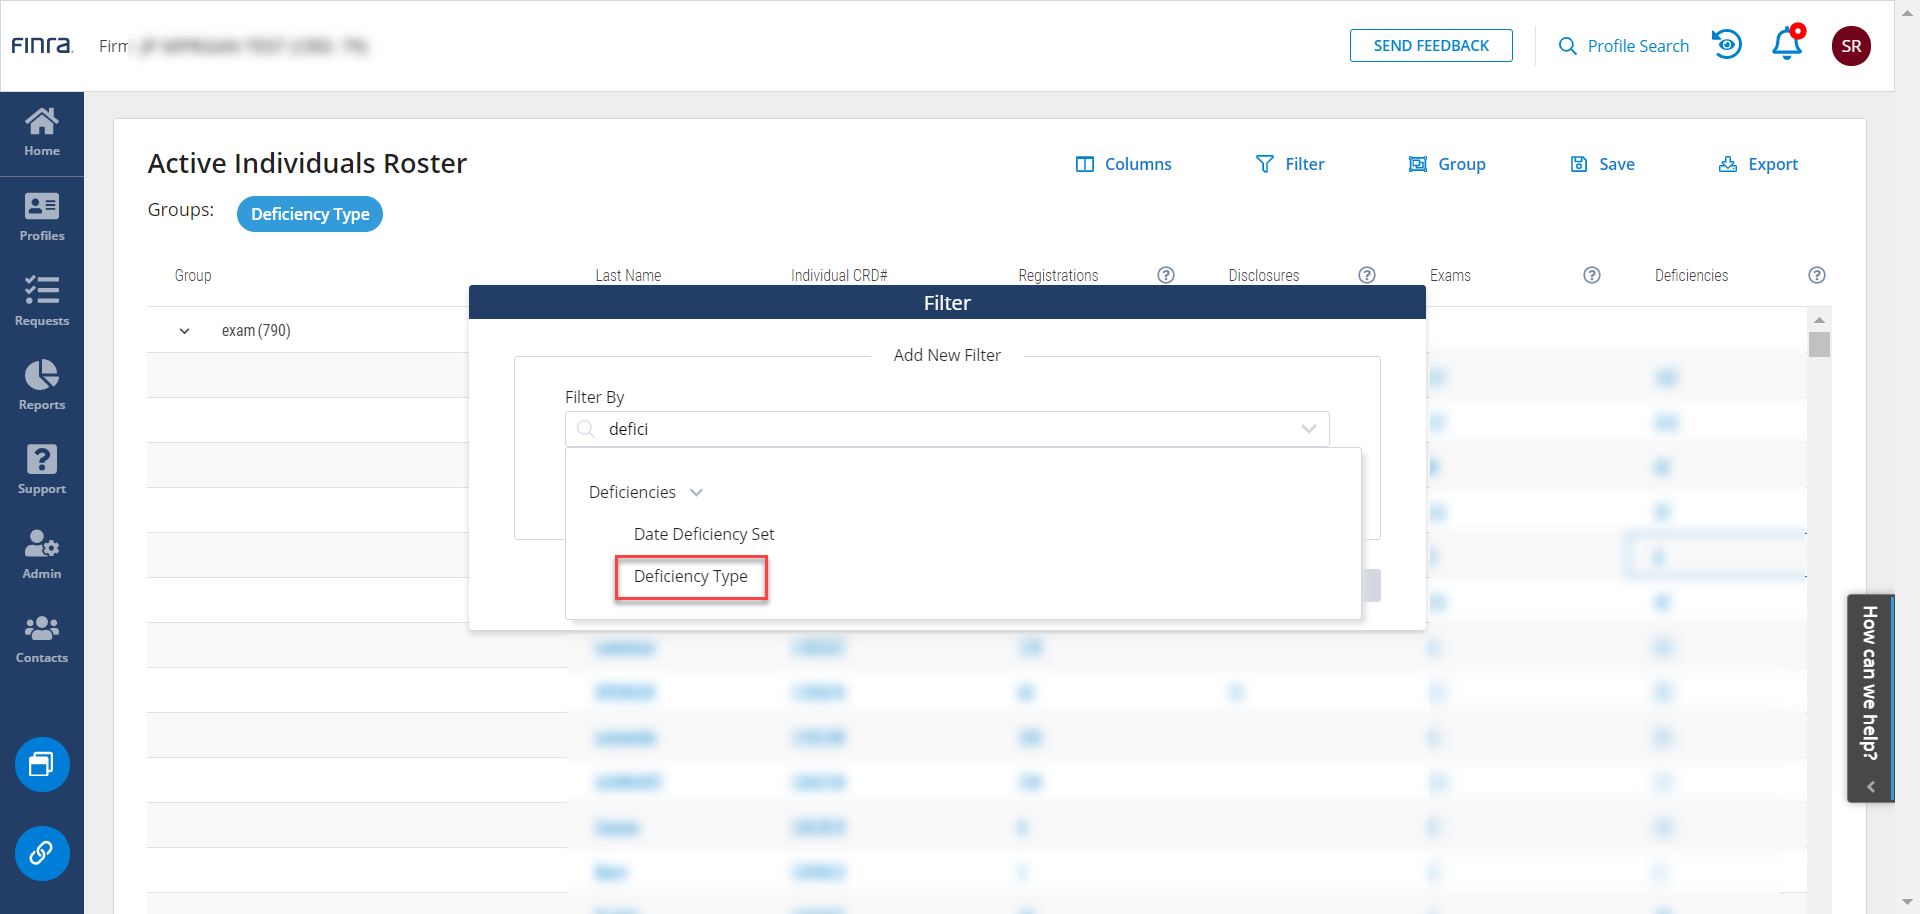
With the Filter menu open, search on Deficiencies. As you type, the filter options that match the key word will appear in the menu below the search box. Select “Deficiency Type.”
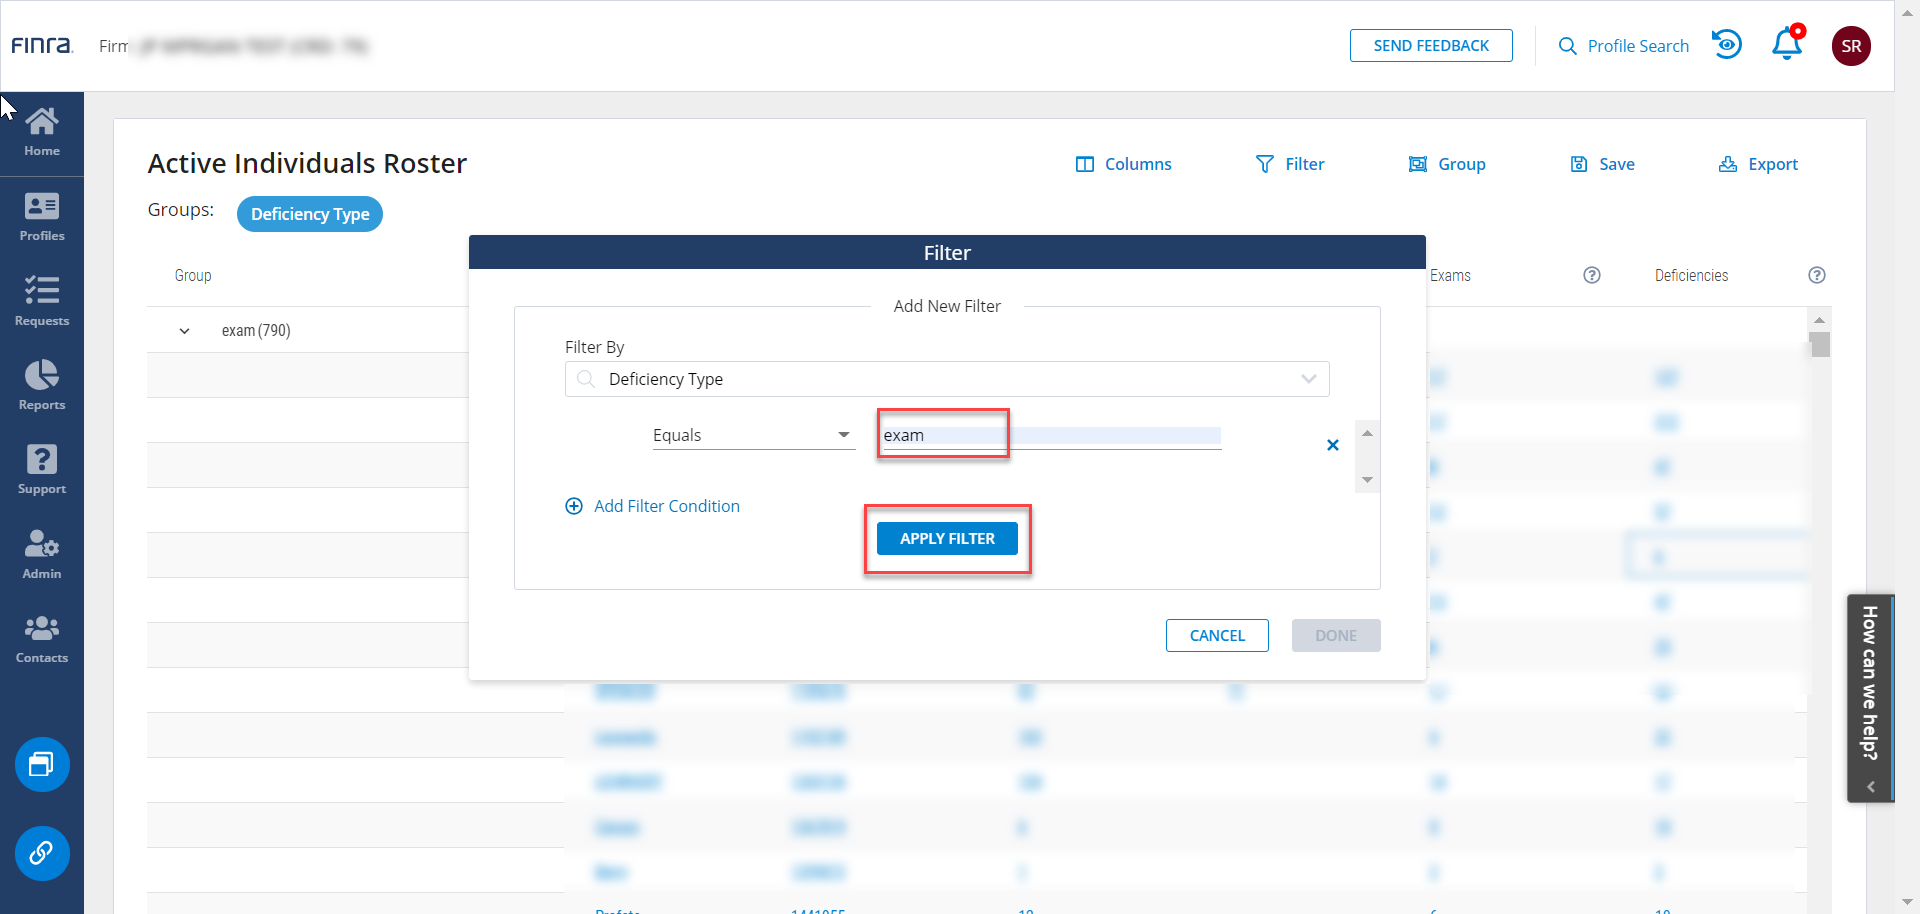
For this use case, we will focus on individuals with an exam deficiency. Therefore, in the Deficiency Type filter options, enter exam. Click Apply.
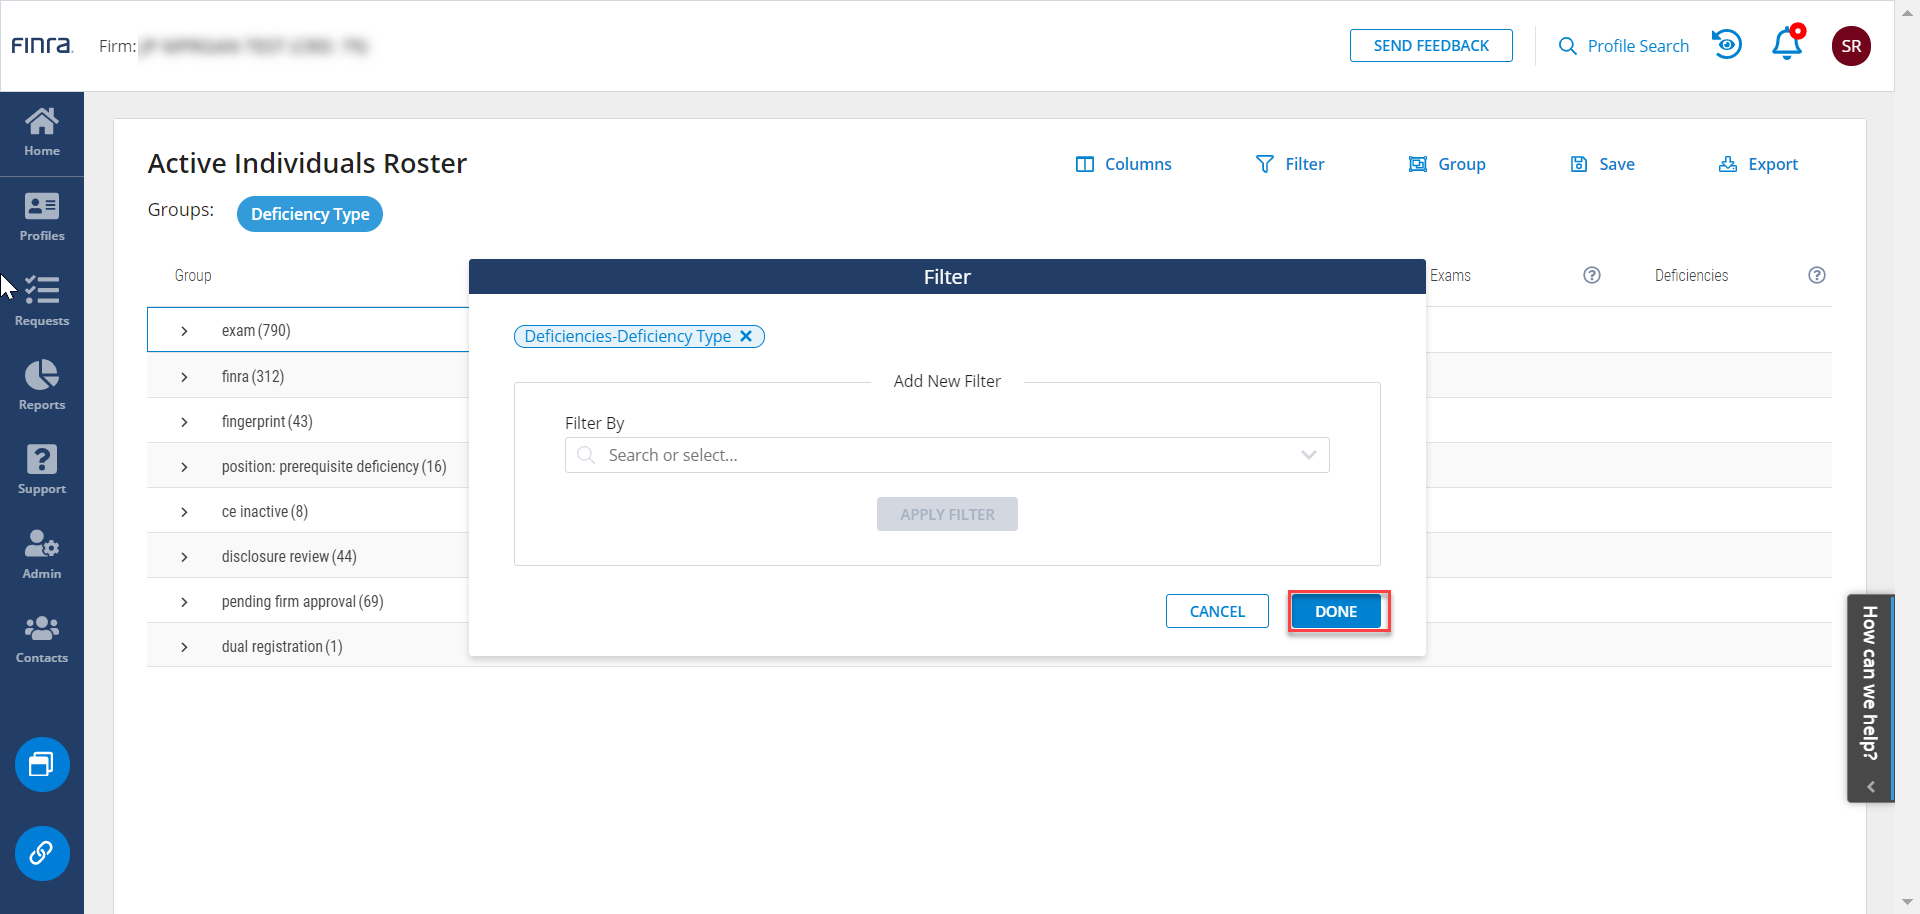
After applying the filter, click Done.
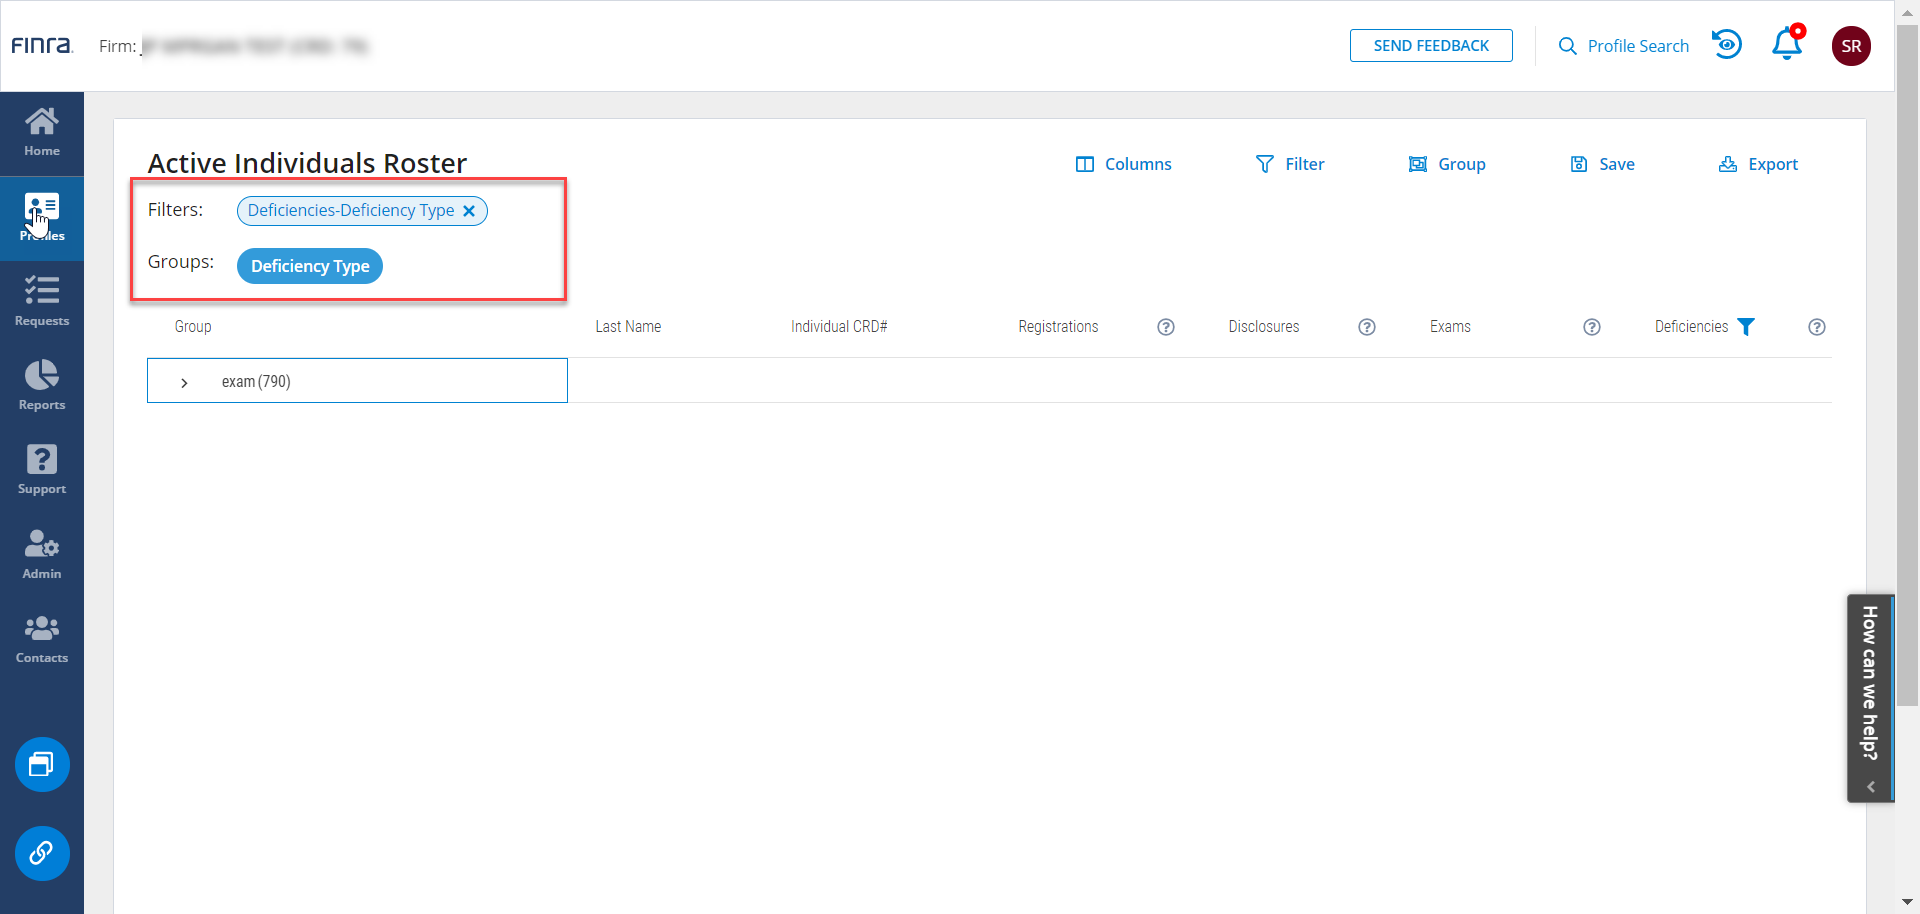
Now, when you return to the Active Individuals Roster, you will only see one group: exam. Just below the template title you can see that the Deficiency Type Group and Filter are applied.
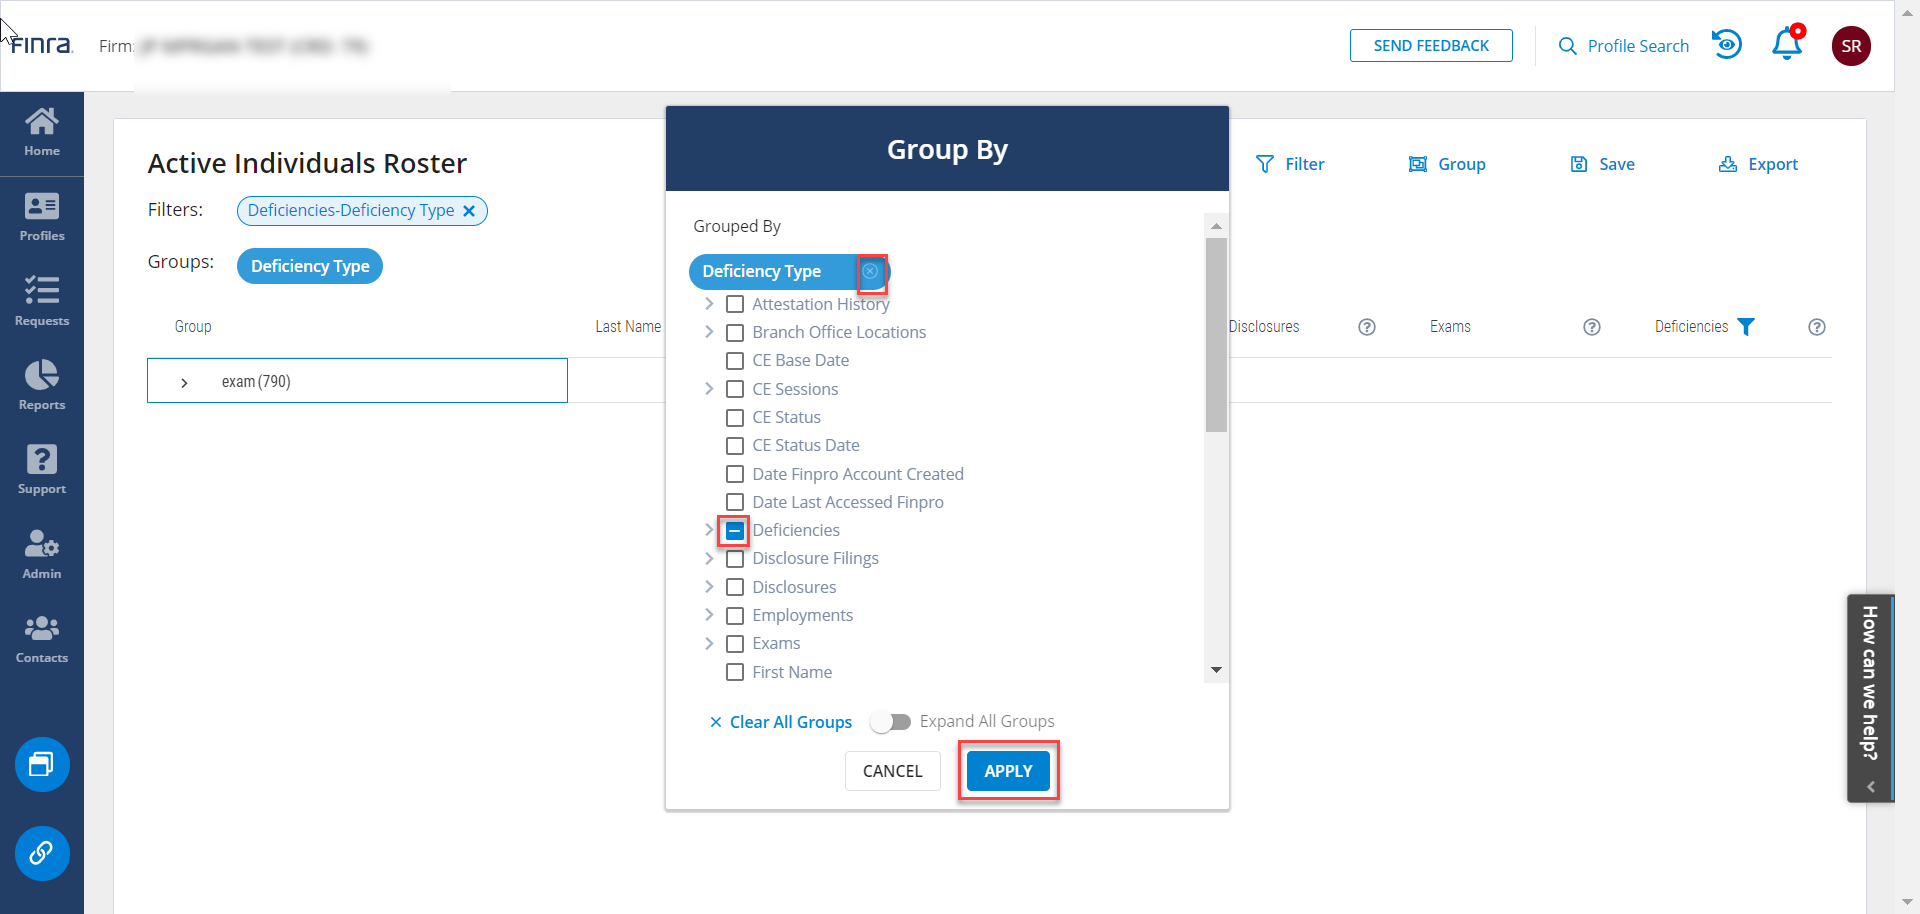
To remove the extra step of clicking to open the exam group, open the Group tool again. Remove the Deficiency Type group by clicking on the X on the Group indicator at the top or clicking next to the Deficiency Type column in the Group menu to remove. Click Apply.
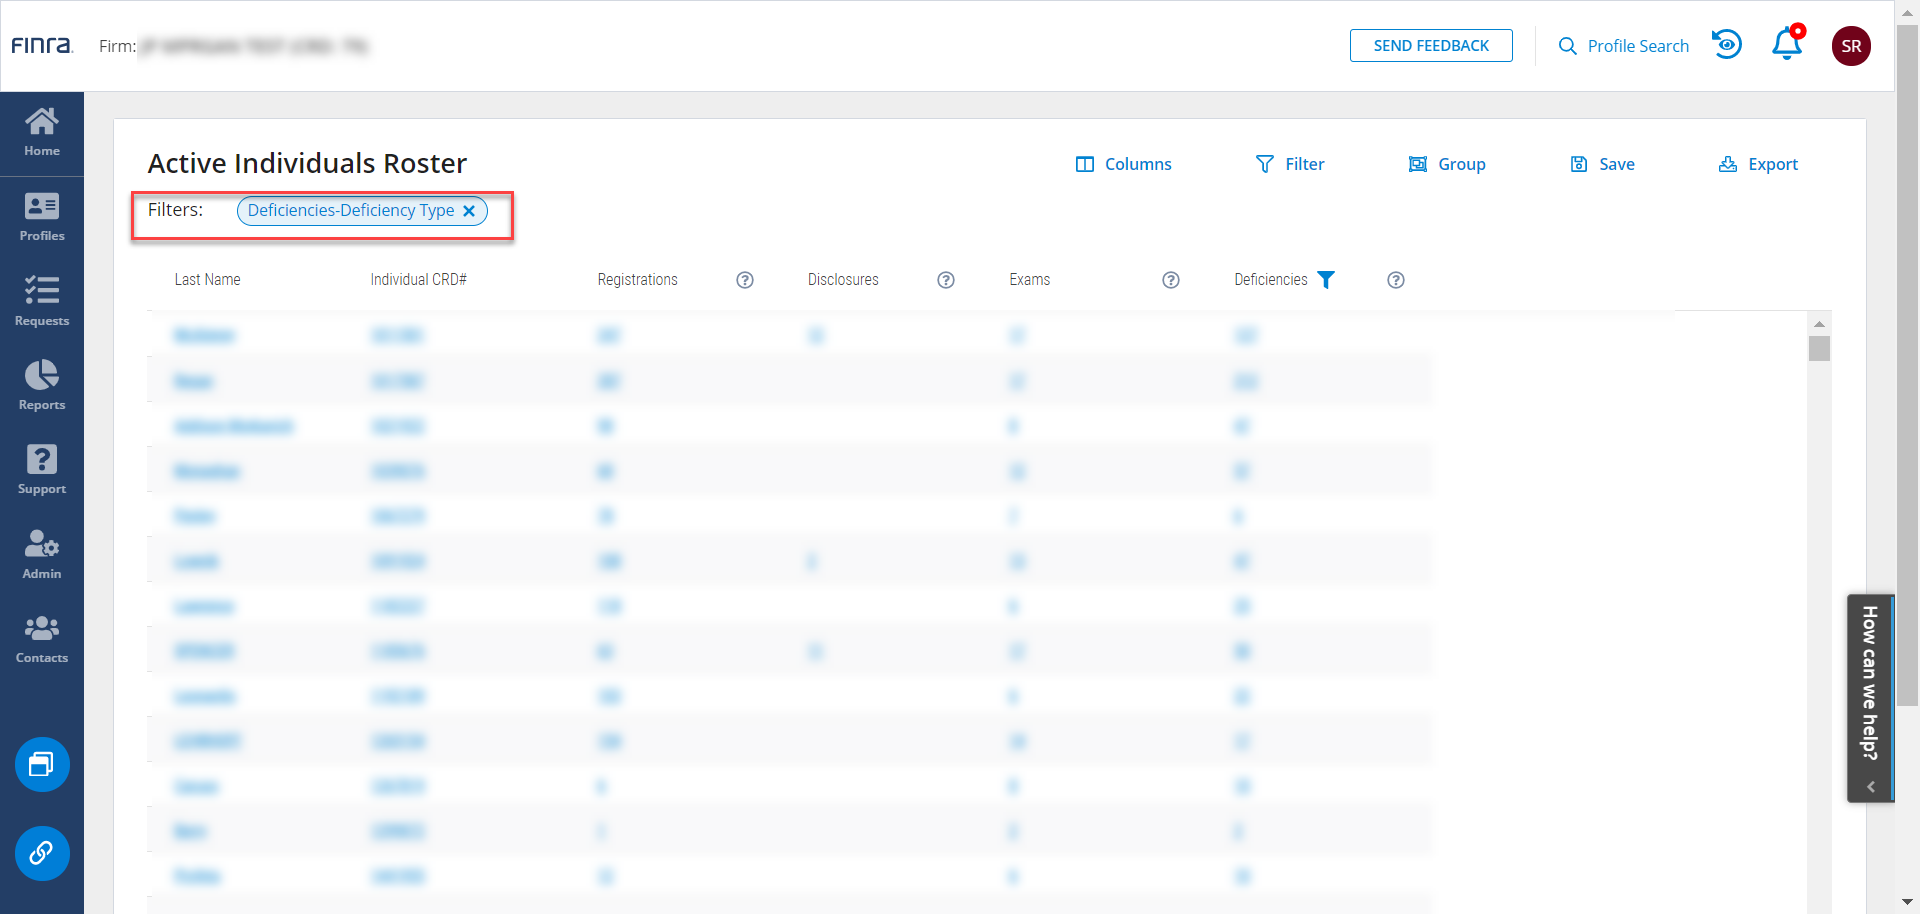
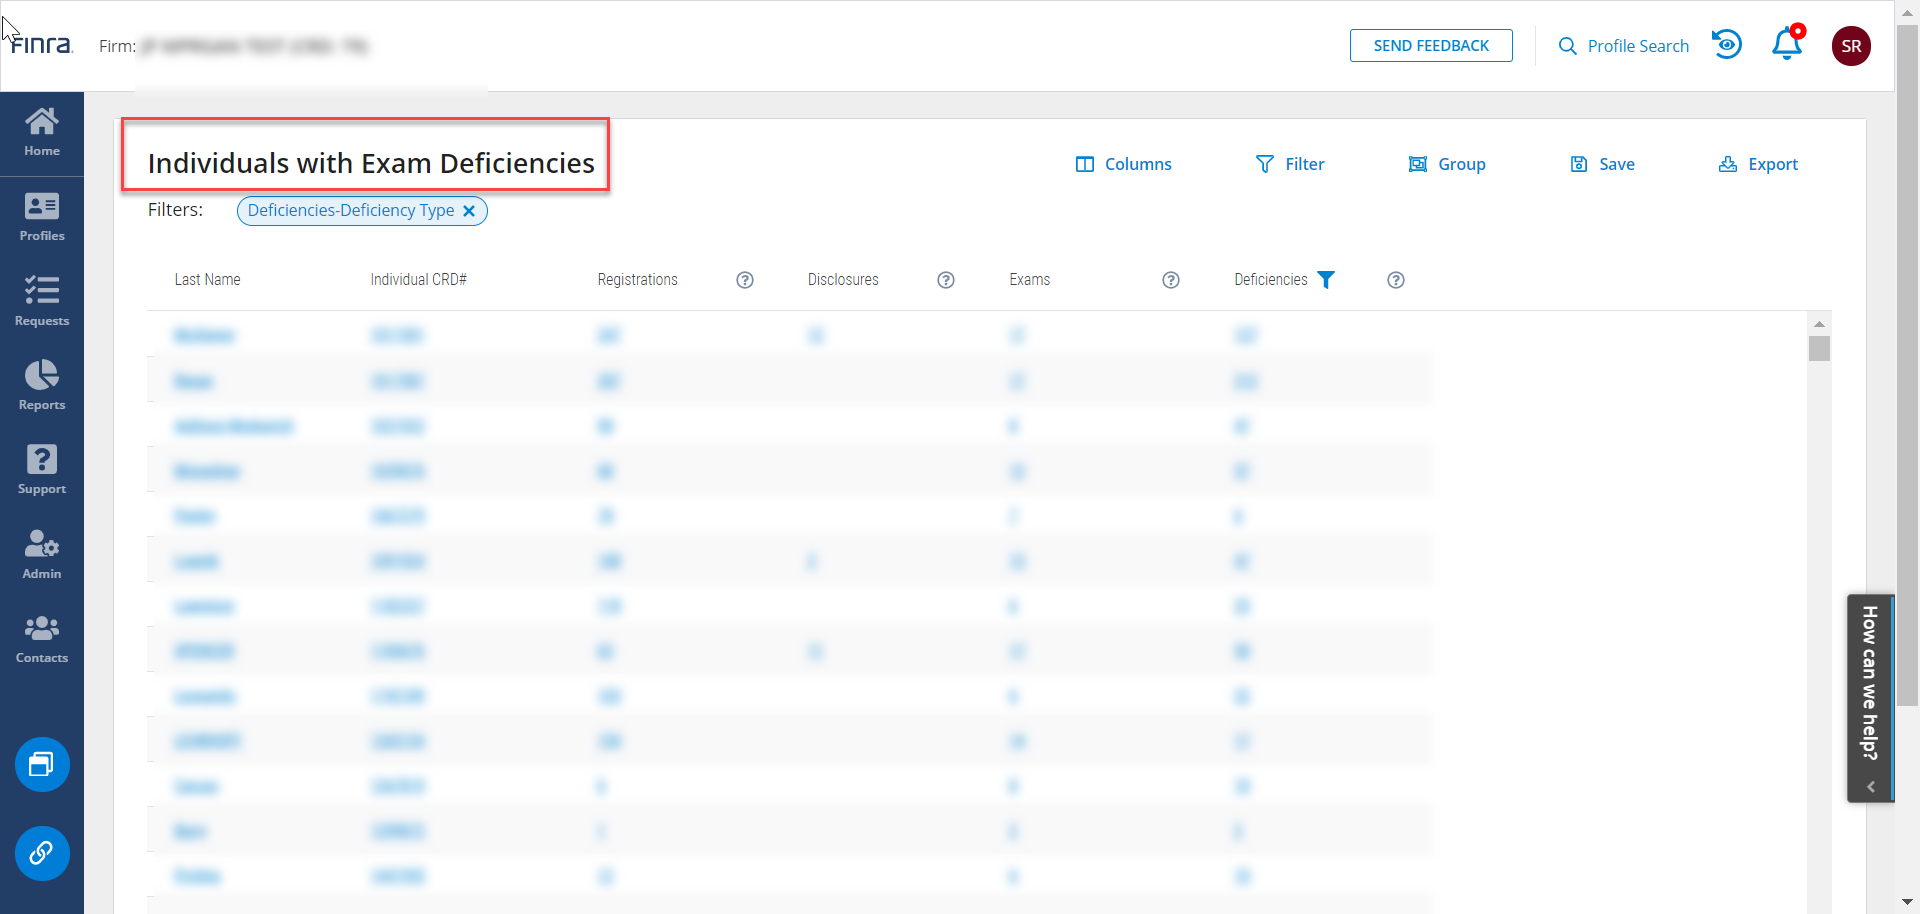
Now when you return to the Active Individual Roster with the Deficiency Type filter applied. Only individuals will an exam deficiency will appear in the grid.
Save
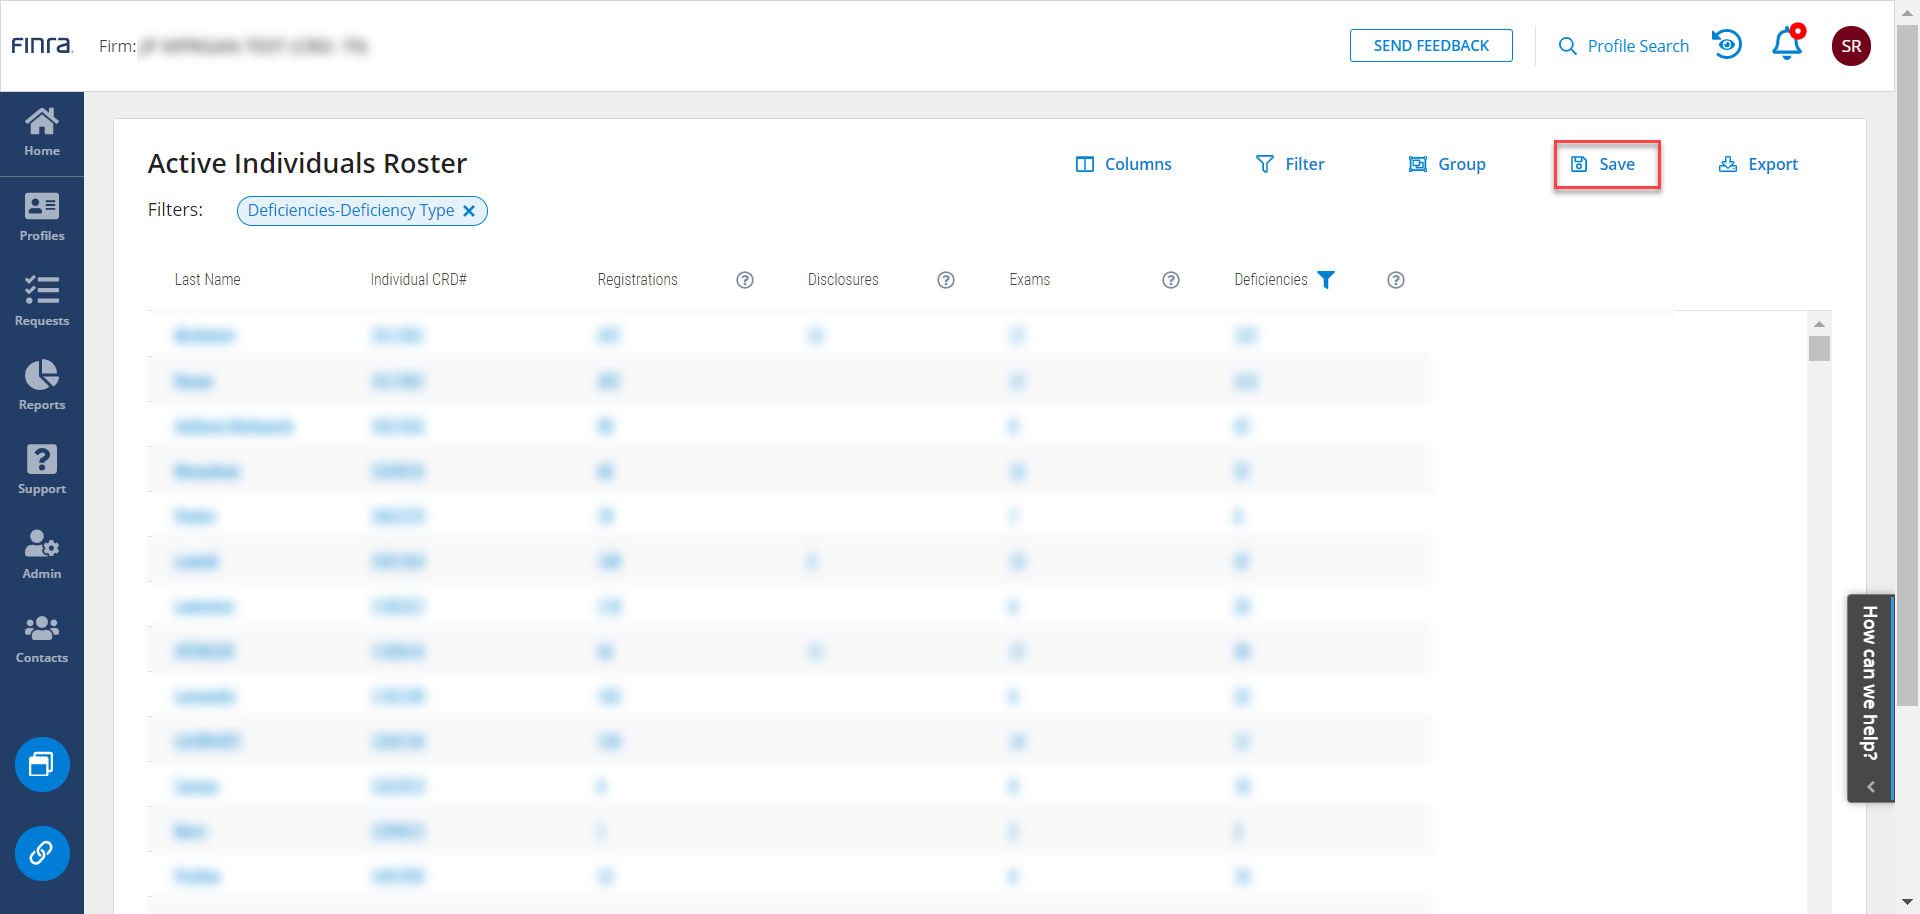
If you are happy with how your report is set up, you can Save changes to create a custom report.
To save changes you make to a template as a custom report, click the Save tool in the top right.
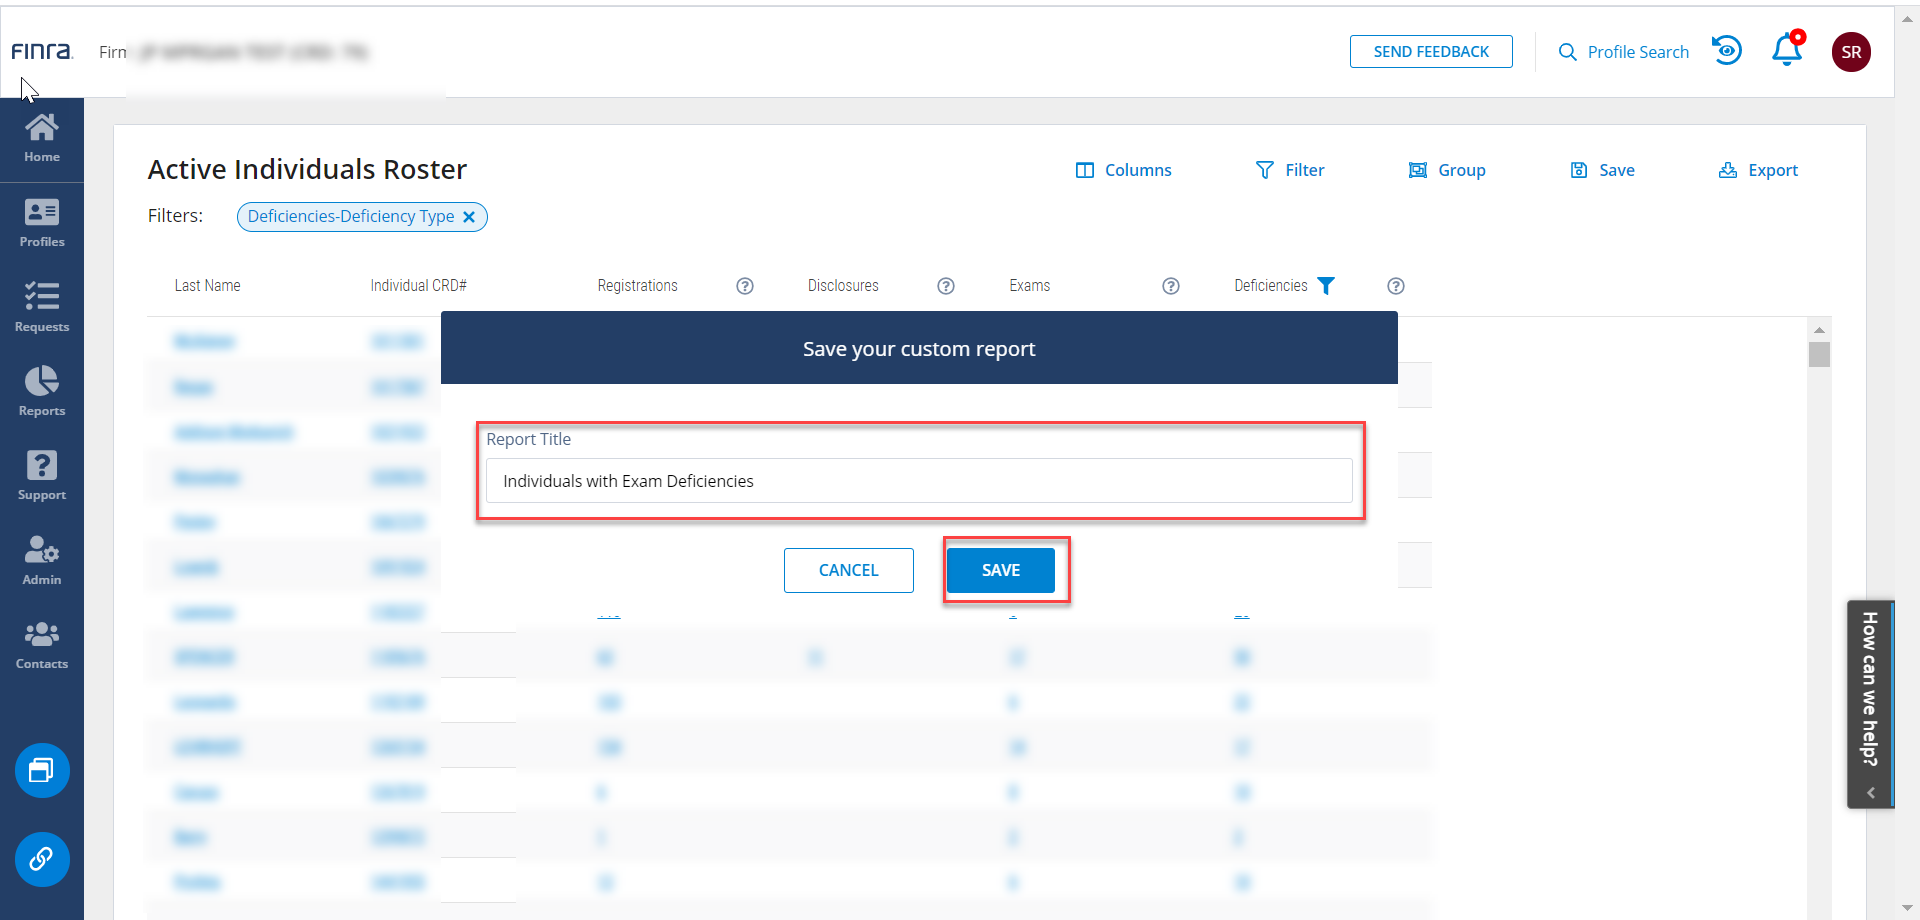
Enter a name for the title that will help you identify the report in the future. For this use case, name the report Individuals with Exam Deficiencies. Click Save.
You will see the new name appear as the template title once you apply save.
Click on the Reports icon in the left margin to return to the Reports main page. The report you just saved now appears under My Reports. Any time you open this report it will show you individuals at your firm with an exam deficiency.
![]()