Tracking Individuals Who Received an Exam Credit
Use FINRA Gateway Reports to pull up a list of individuals at your firm who have received a credit for an exam.
If you want a list of individuals with a particular Series exam, you can use the Filter tool. Whereas the Group method categorizes all individuals at your firm by exam type, the Filter method will return a list of only those individuals who have a specific exam. In this use case, we will look for individuals with a Series 65 exam.
After completing the steps below, you will have a report similar to this example.
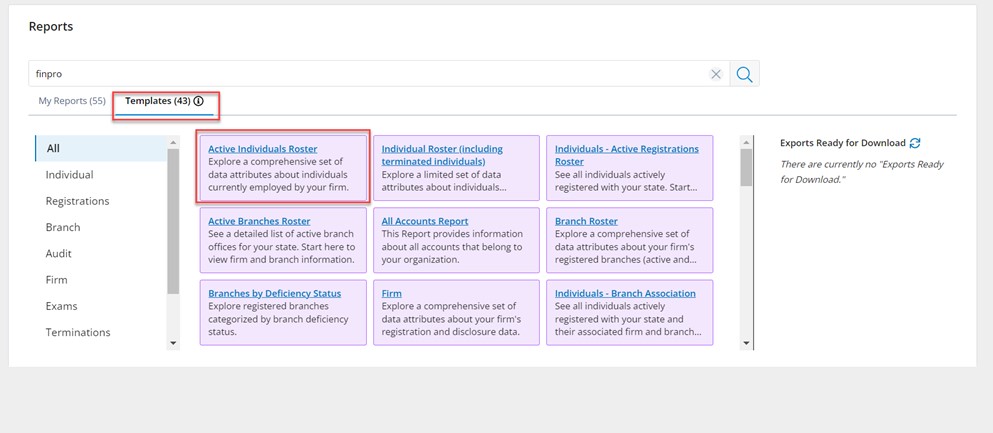
Log in to FINRA Gateway, navigate to the Reports tab, click on the Templates and open the Active Individuals Roster template.
Modify the Template to Fit Your Needs
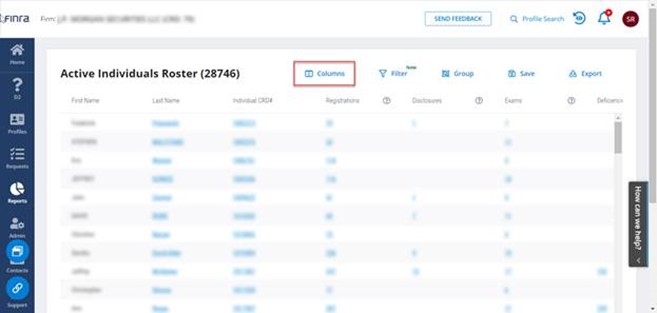
From within the Active Individuals Roster, open the Columns tool.
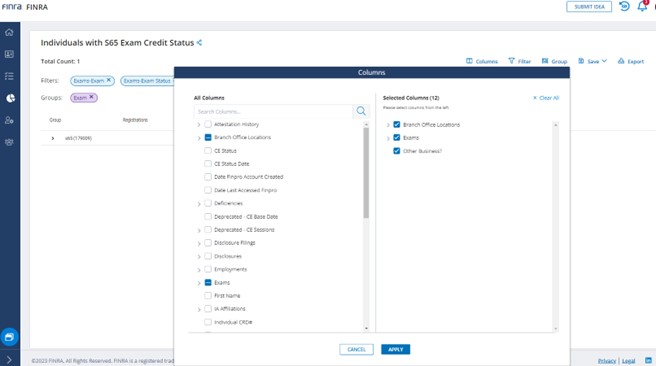
Use the Columns tool to add and/or remove columns. For this example, we will remove columns you don't need by unchecking them and adding columns you do need by checking them, click the Apply button to exit the Column tool and return to the table.
When you return to the main table, you should see the columns you selected.
Filtering the Template to Only Show S65 Exams
From the main table view, open the Filter tool by clicking on the filter icon.
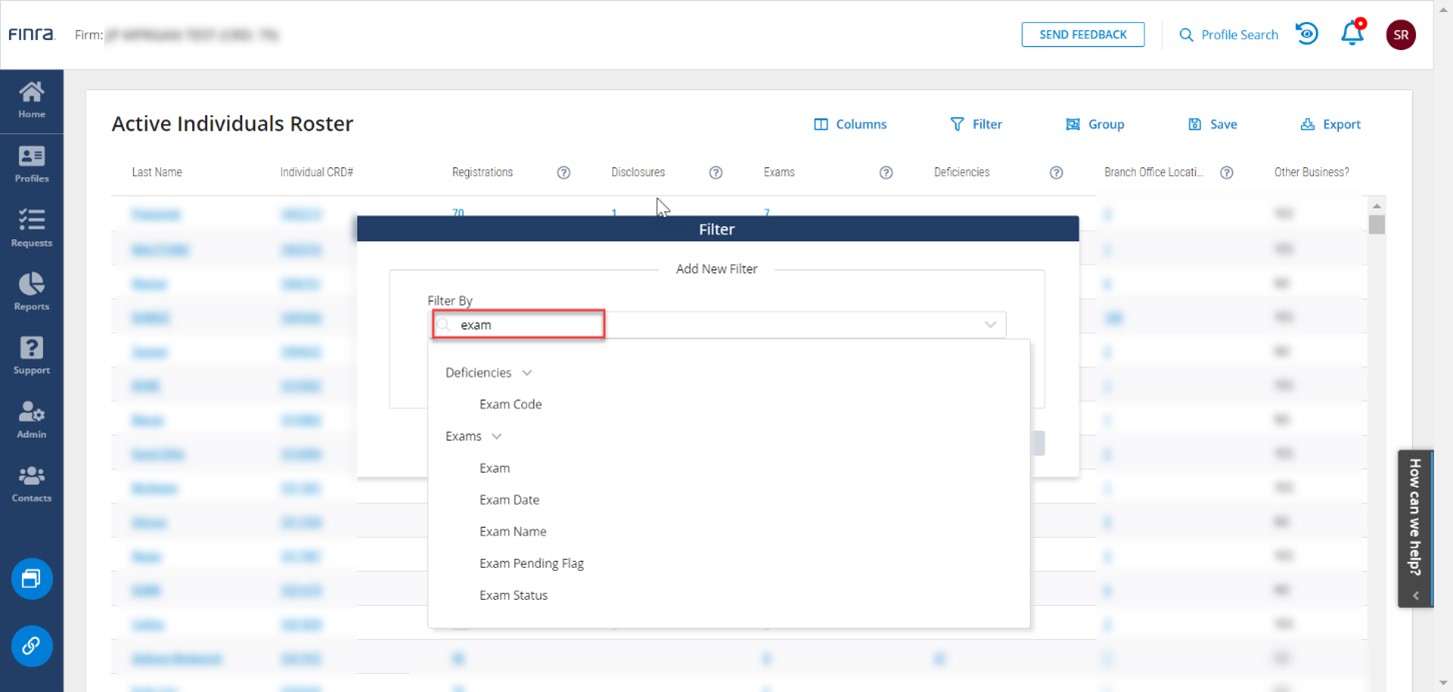
In the filter dialog that opens, search "exam." Various options for exam filters will appear.
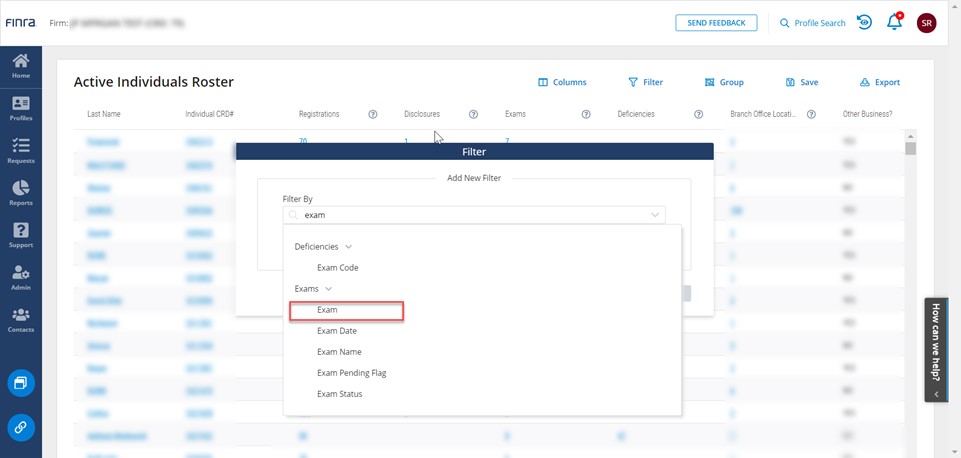
Select “Exam” from the menu that appears.
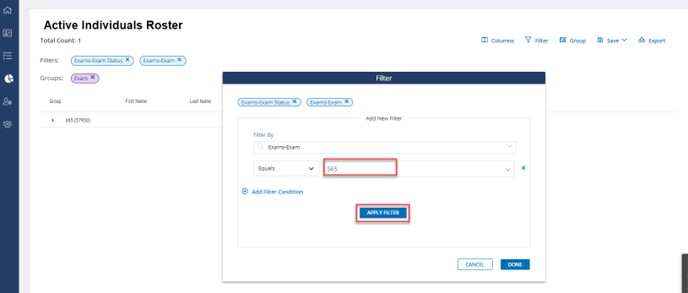
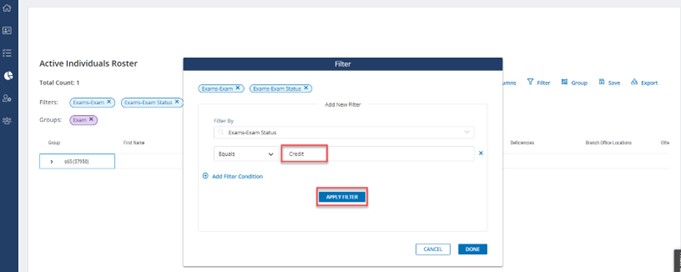
Select S65 from the dropdown. (The drop down has type ahead functionality that you can use to quickly get to the value you need.) Click Apply Filter and then click on done to exit the Filter dialog.
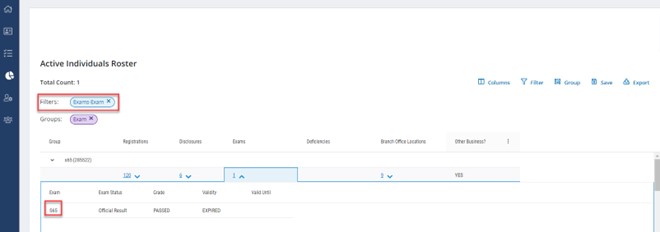
After you apply the filter, you will have a filter indicator appear in the upper left section of the template.
Now the roster contains a list of only those individuals at my firm who have a Series 65 examination. You can click on the Exams column count to confirm.
Next you narrow the report down by Exam Status. In this example, filter on Exam Status = Credit
Save as a Custom Report
After you finish configuring the base template to provide you with the information you need—whether it be using Grouping or Filtering—you can Save the customized version of the template as a Custom Report.
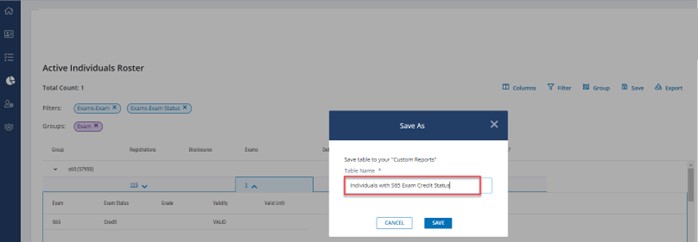
To save the customized view, click the Save tool in the top right.
Type in a name that helps you recognize the report. Click Save.
After you click Save, you will see the new name on the report in the top left corner.
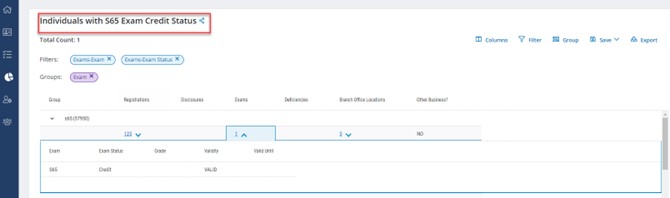
Once you have saved the report, every time you return to FINRA Gateway Reports you will see your saved report on the Custom Reports tab from which you can open your Custom Report. The report is not a static view but rather will always reflect the latest data on all individuals with Series 65 exams as of the time you open it.

Export Report Results to a CSV File
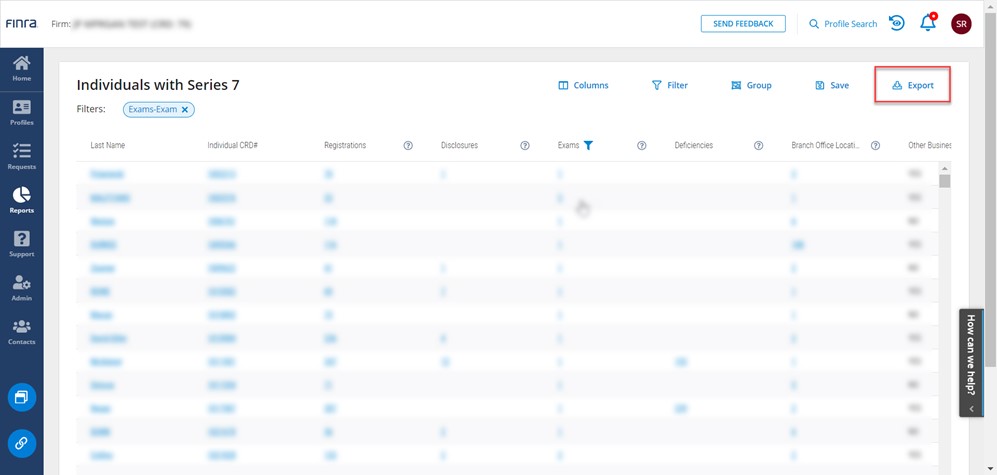
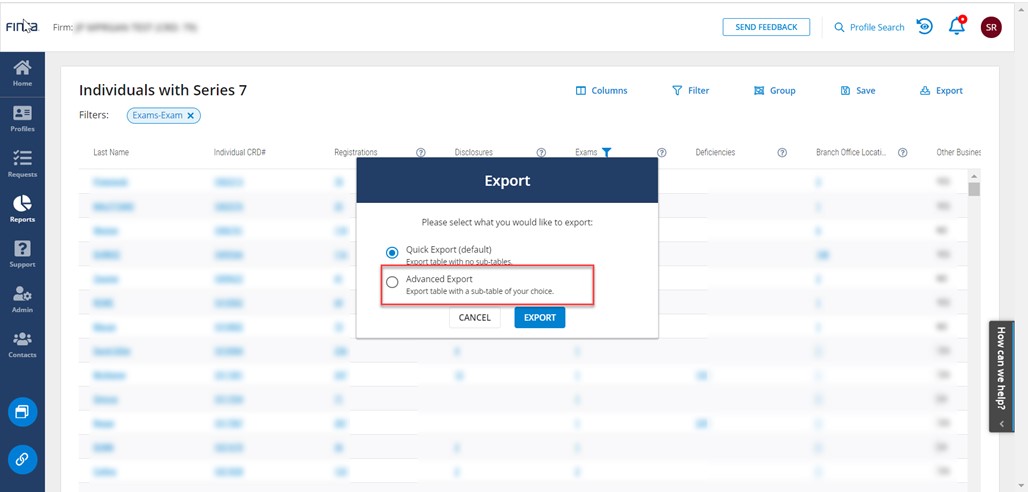
With the report open that you want to export, click on the Export tool.
To include Exam details in the export, choose the Advanced Export option.
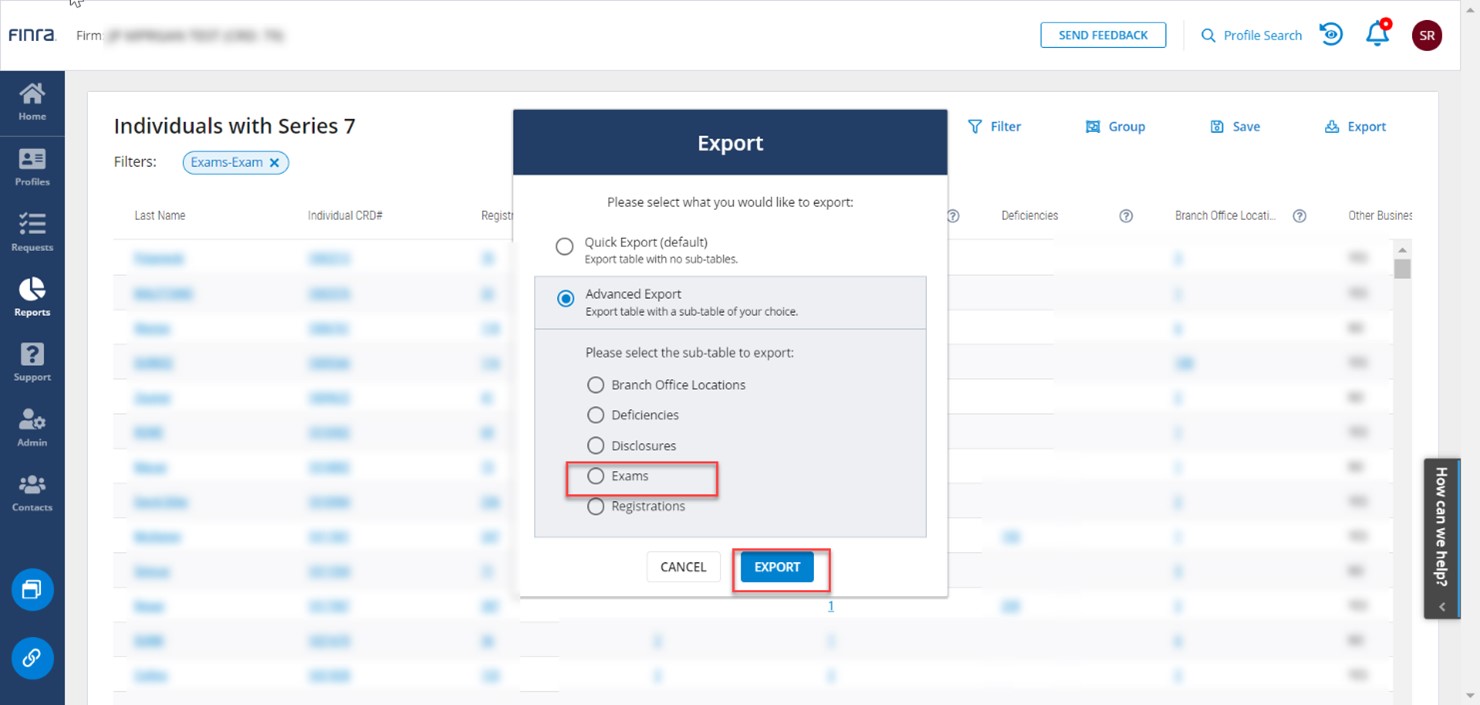
Within the Advanced Export menu, choose to include the Exams sub-table. Click Export.
Once you click on Export you will see a message in the upper right corner that your export file is being prepared. Clicking on the message will take you to the Reports landing page where you can download the report.
Note, it may take several minutes for the file to download if there is a large amount of data included in the report.
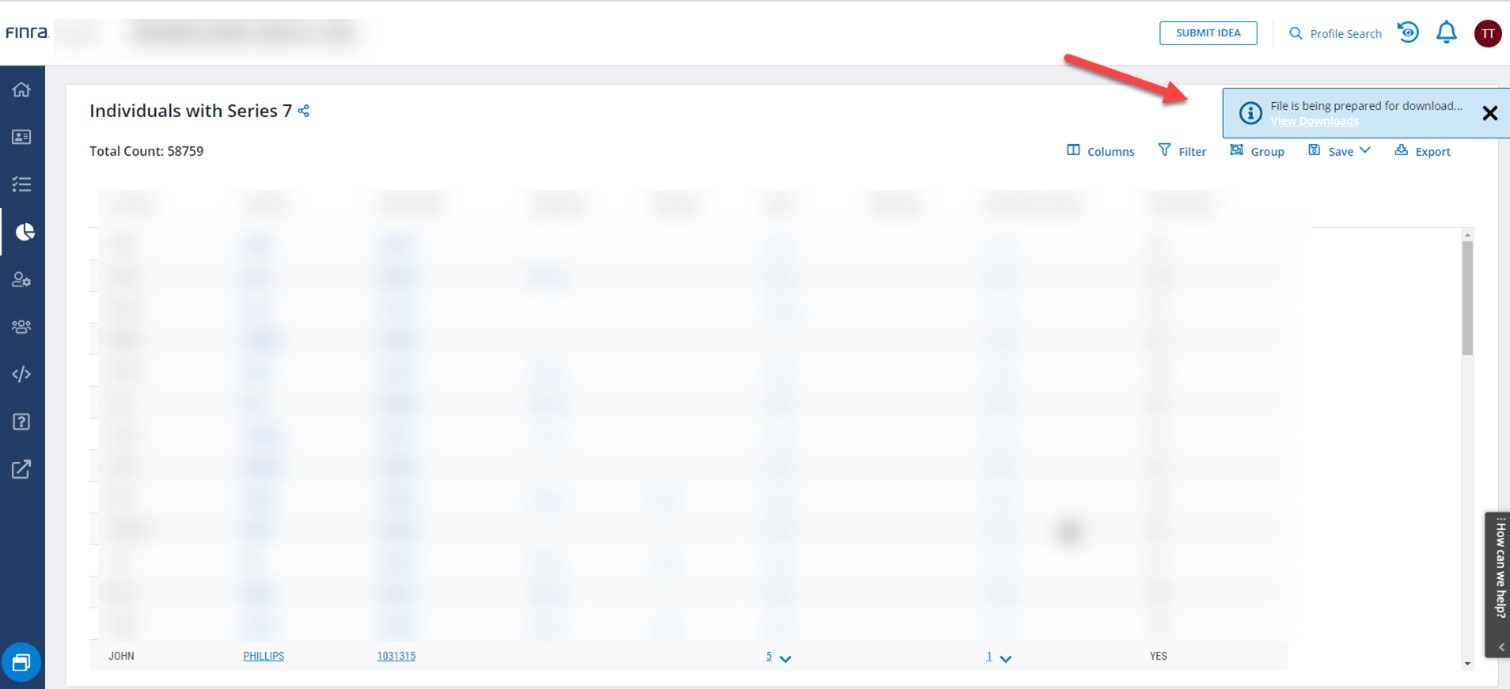
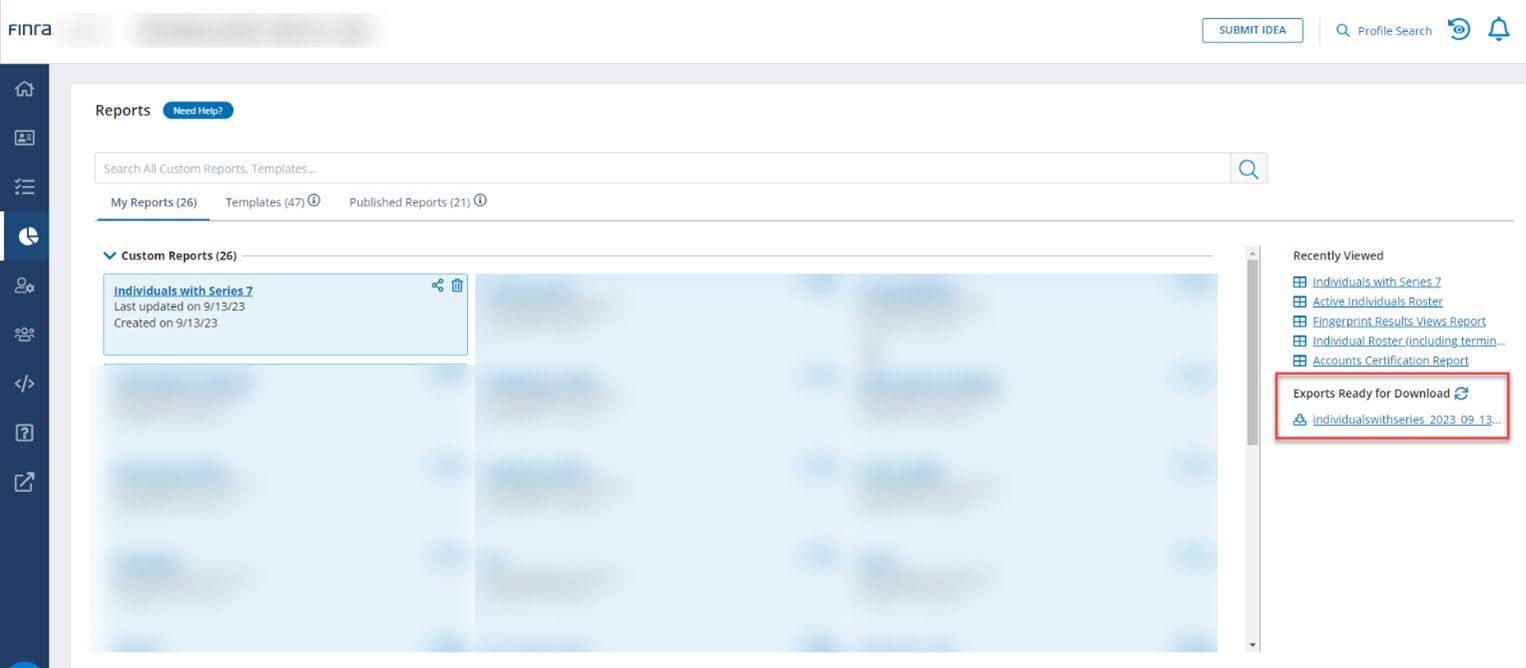
Clicking on the message will take you to the Reports landing page where you can download the report.
Note, it may take several minutes for the file to be generated, depending on the volume of data it contains. While the report is being generated, the link to download the report will appear gray. Clicking on the refresh icon next to the report download link will refresh the link. The link will turn blue when the report is ready to download.
Clicking on the link after the report is ready will download a zipped file that contains two files: a CSV file that contains your data and a TXT file that contains information about all the criteria you used to create the file.
If you would rather not wait for the export to finish getting generated, you can leave reports and come back to pick up the file you exported any time in the following 24 hours.