Current Residential and Branch Locations
FINRA Gateway Reports contains historical information about individuals associated with your firm, including previous residential and branch locations. However, you may at times only want to compile a report with current addresses or branch locations. In these situations, you will want to use the Is null filter operator for end dates.
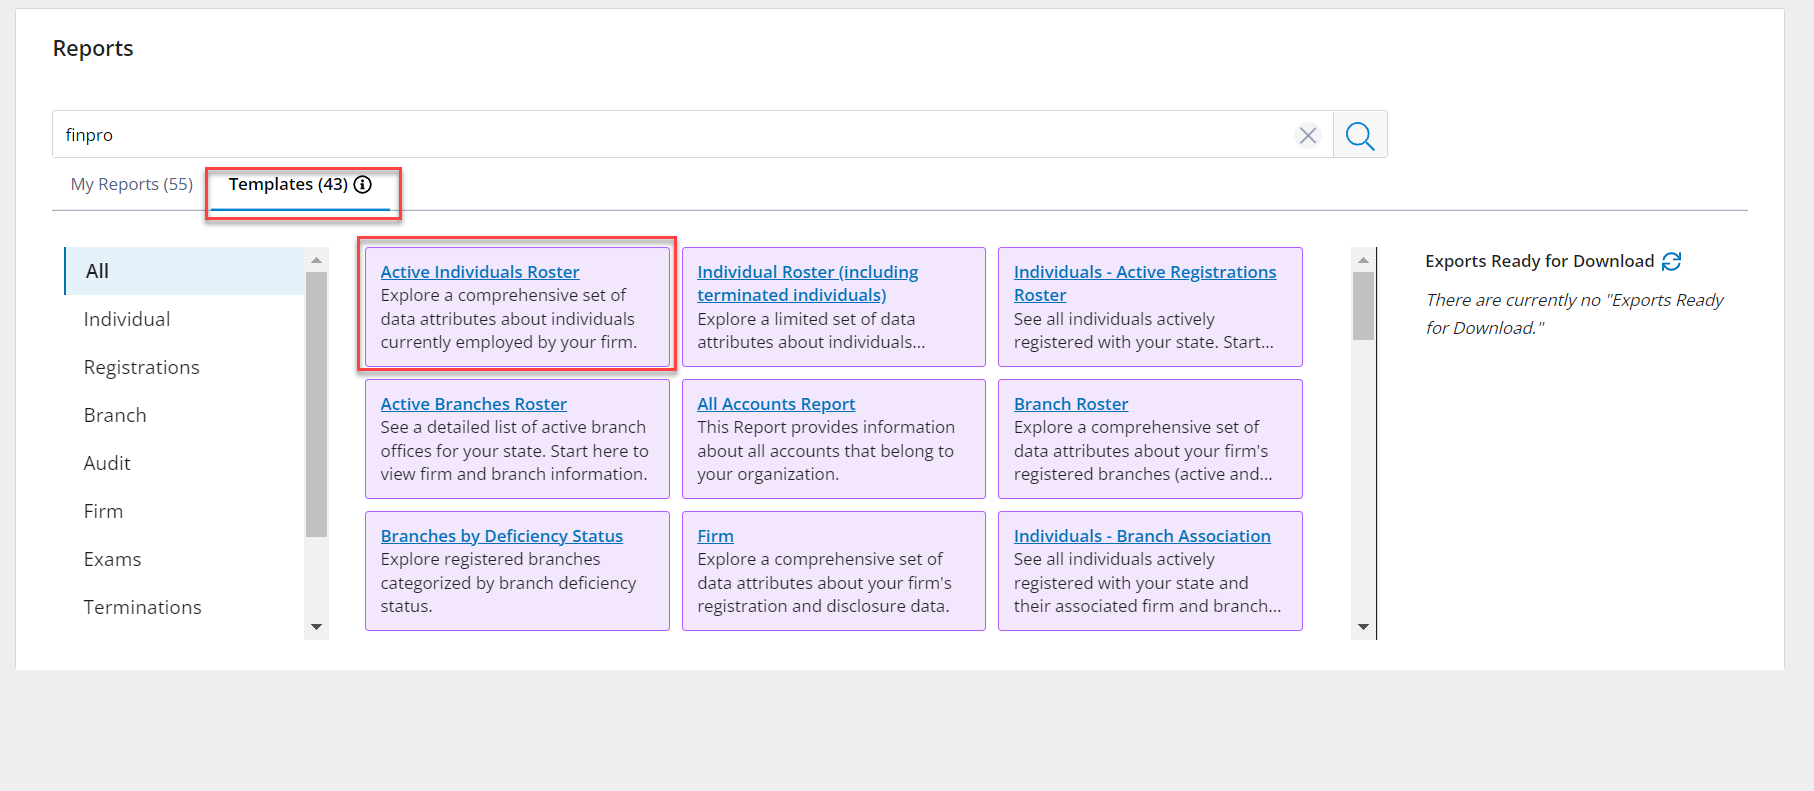
Log in to FINRA Gateway, navigate to the Reports tab, click on the Templates and open the Active Individuals Roster template.
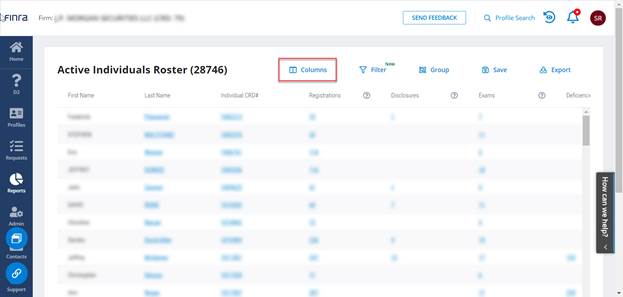
From within the Active Individuals Roster, open the Columns tool.
Use the Columns tool to add and/or remove data types. For this example, you will need to add the Residential Locations and Branch Locations. After removing columns you don't need by unchecking them and adding columns you do need by checking them, click the Apply button to exit the Column tool and return to the table.
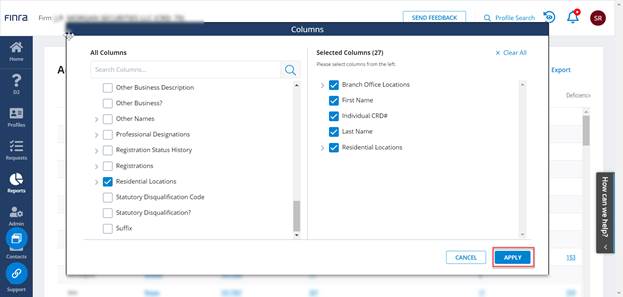
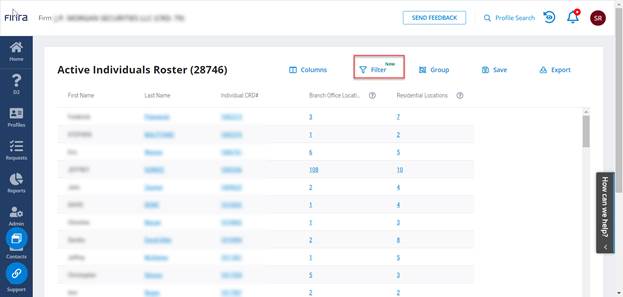
When you return to the main table, you should see the columns you selected.
Next, open the Filter tool.
Within the Filter tool, search on "end date." Various options for end date filters will appear.
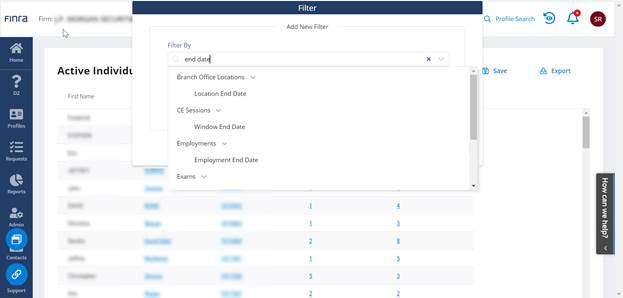
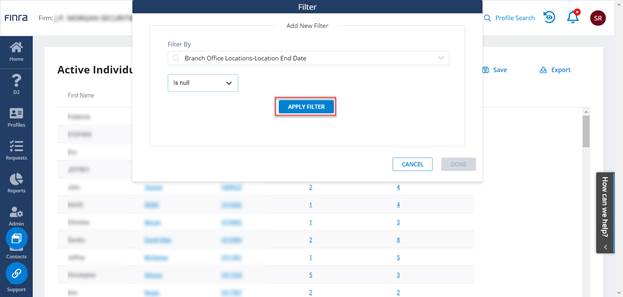
Under Branch Office Location, choose the Location End Date filter. Once you have selected the Location End Date filter, change the operator from "Equals" to "Is null."

Once you have changed it to "Is null" click Apply Filter.
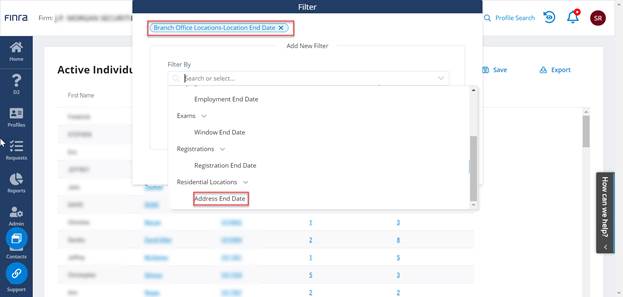
Once you apply the filter, you will see a blue tag at the top of the filter panel showing the filter is activated. You can add another filter by clicking into the Filter By box again. Scroll down to select Address End Date under Residential Locations. Repeat the process of selecting the "Is null" operator.
Apply the filter. Then click Done.
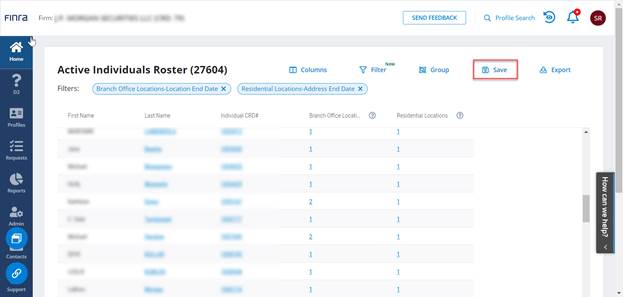
When you return to the table, you will only have the current branch and residential locations for your firm. You can then click on the Save tool to save the report for future use.
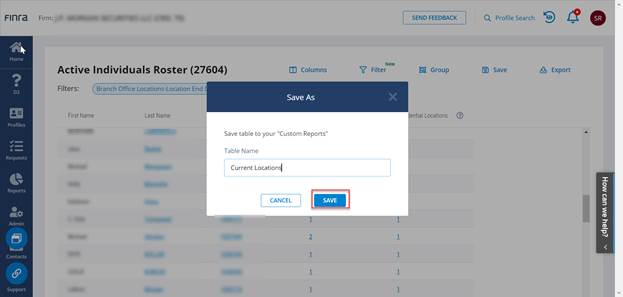
When you click on the Save tool, you will be prompted to give the template you created a name. Once you enter a name, click Save.
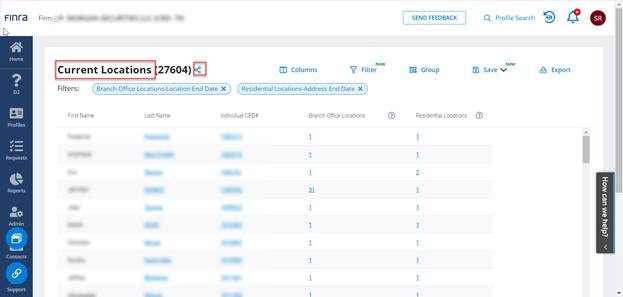
After you save the template, the name of the report will change to the one you assigned it. Also, the Share icon (lines with three circles) will appear which allows you to copy and paste a link to the report in case you want to share the template you created with other users of FINRA Gateway Reports.
The custom report you created will appear in the My Reports section on the main Reports page.